Polymer Clay Earrings: Easy Beginner Tutorial
The clay is still warm from your palms when you press a fingernail into it and watch the dent slowly fade. That little moment of give tells you you’re working with the right stuff. Polymer clay earrings look boutique-made and secretly take an afternoon. No kiln, no wheel, no fancy studio. A toaster oven on your kitchen counter will do. I’ve taught this workshop to teenagers, retirees, and one very determined eight-year-old, and every single one walked out wearing something they made. By the end of this tutorial, you’ll have a pair too — and probably a few extra to give away.
Why bother making your own earrings? Shop-bought ones all start to look the same after a while. A handmade pair costs pennies, fits your exact taste, and lets you experiment without risk. Mess one up and you’ve lost about forty pence of clay. That kind of freedom is rare in crafting.
Materials List
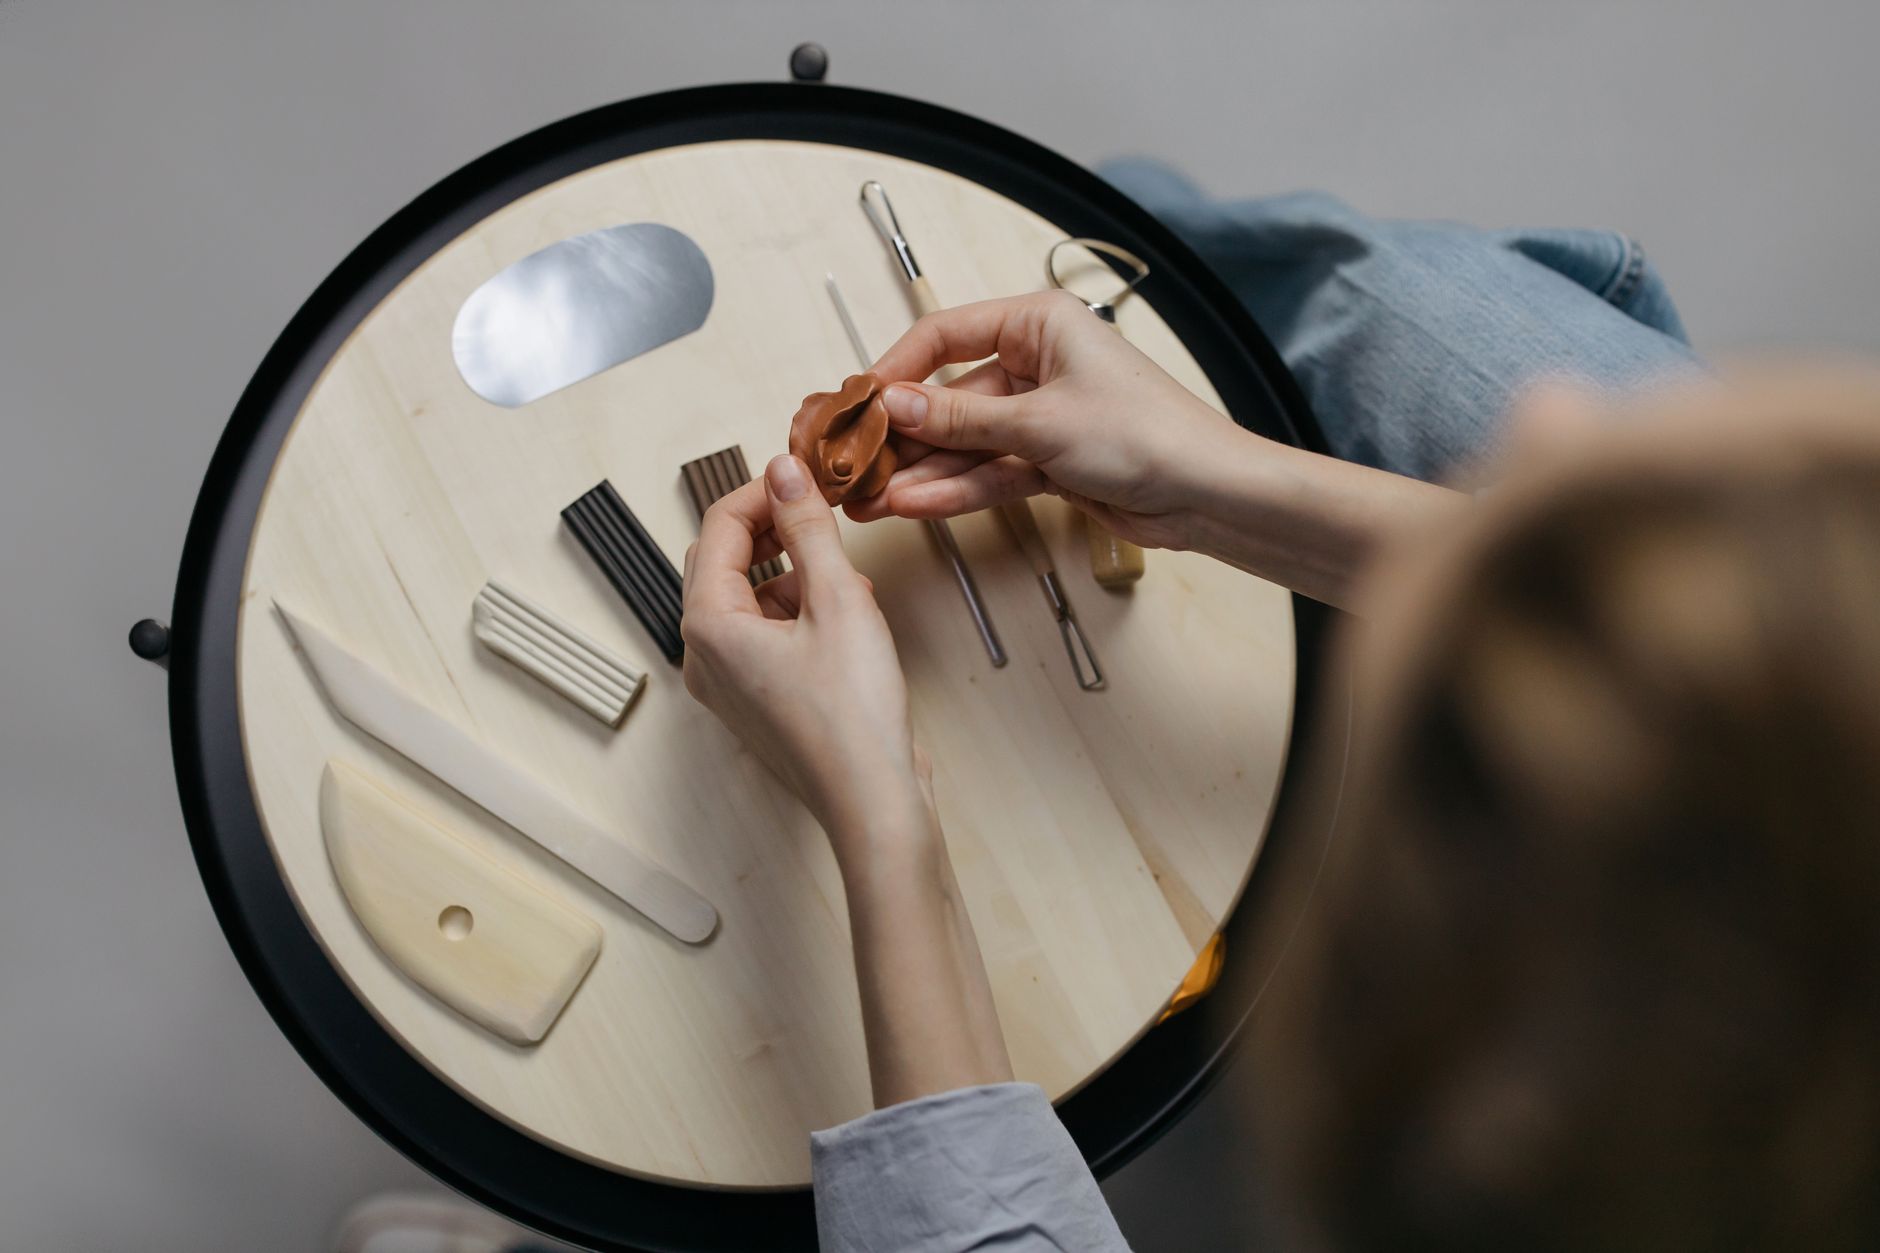
- Polymer clay — two or three colours to start. Sculpey Premo and Fimo Professional are both reliable. Cheap unbranded blocks work too, but they condition more slowly and can be brittle after baking.
- Earring posts with backs — or lever-backs, or hoops. Look for stainless steel or gold-plated brass. Avoid anything described as “costume” if you have sensitive ears.
- Strong craft glue — two-part epoxy is the gold standard. E6000 is a solid everyday alternative and far less fussy.
- A craft knife or tissue blade — a sharp blade matters more than an expensive one. Snap-off blades from the hardware shop work beautifully.
- Acrylic roller or a smooth glass jar — a clean jar rolls clay flat just fine.
- Baking parchment — line your baking tray and your work surface with it.
- Toothpicks or a needle tool — for poking holes and cleaning edges.
- Wet wipes — clay picks up every speck of dust and fluff. Wipe your hands between colours or you’ll get muddy streaks.
- A dedicated baking tray — one you won’t use for food again, or line it thoroughly with parchment.
Step-by-Step
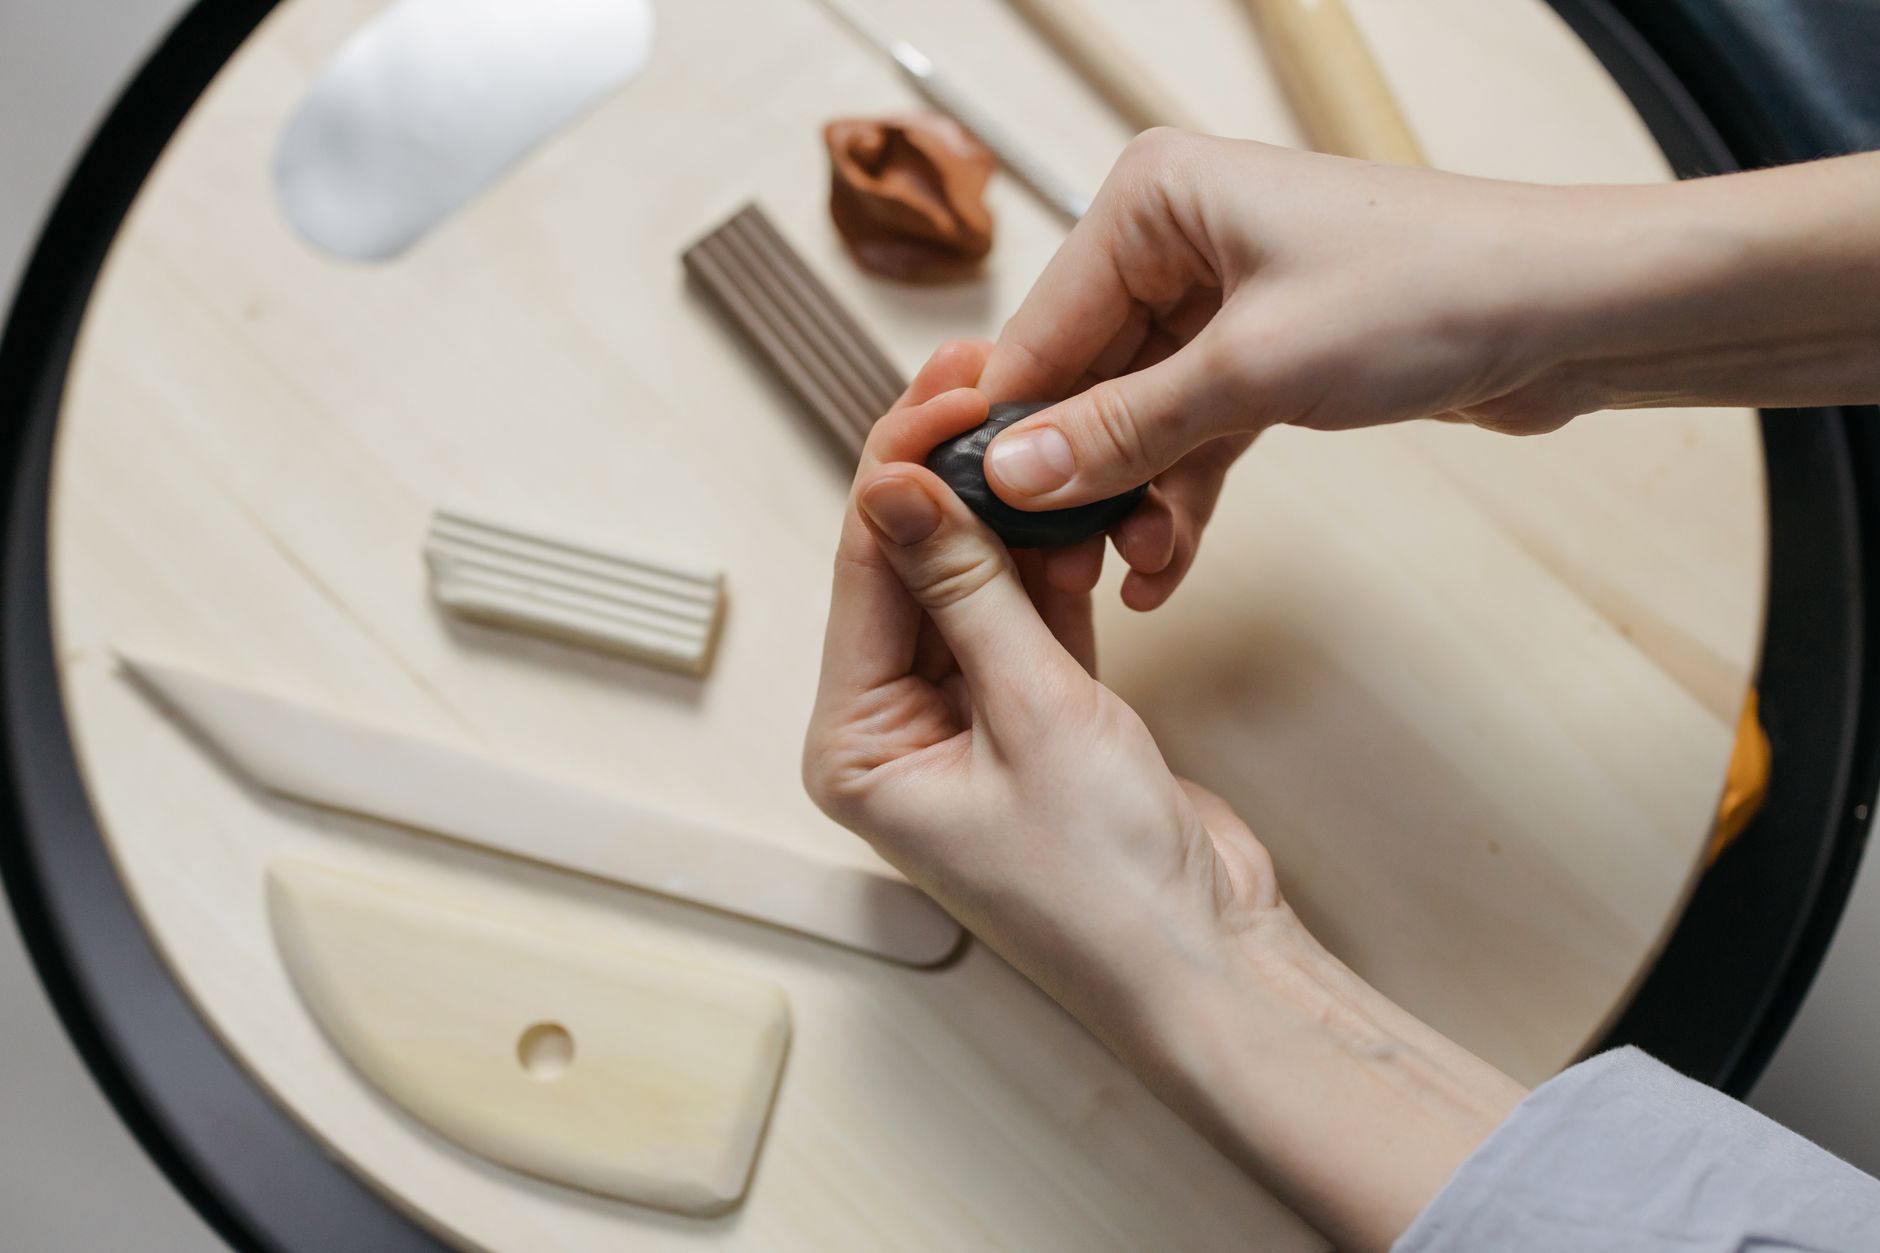
- Condition the clay. Squeeze, roll, and knead each colour for two to three minutes until it feels like soft chewing gum. Cold clay cracks; warm clay behaves. If your hands ache, roll the block between parchment with your jar for a minute, then knead again.
- Roll your slab. Place the clay between two sheets of parchment and roll to roughly 3mm thick. Even thickness is the whole game here — thin spots become weak spots. Slide a couple of coins under each end of your roller if you want a foolproof guide.
- Cut your shapes. Use a small cookie cutter, a bottle cap, or freehand with your blade. For a first pair, circles or soft ovals are forgiving. Cut two identical shapes — trace the first with your blade if you’re nervous about matching them by eye.
- Smooth the edges. Run a fingertip around each edge with a tiny bit of pressure. Ragged bits will bake exactly as they are, so fix them now. A toothpick handles tight inner curves.
- Add texture or pattern. Press a lace scrap, a textured button, or the back of a leaf into the surface. Or layer a thin slice of a contrasting colour on top. Keep it light — deep gouges weaken the piece.
- Poke your holes. If you’re making dangles, pierce a hole about 3mm from the top edge with a toothpick, then wiggle it slightly to widen. The hole will shrink a touch during baking.
- Bake. Lay pieces flat on parchment on your tray. Follow your clay’s package temperature — usually 130°C (275°F) — for 30 minutes. Set a timer. Overbaking discolours lighter colours; underbaking leaves the clay crumbly. Both are fixable, but getting it right first time is easier.
- Cool completely. This takes about twenty minutes. Hot clay is soft clay. Resist the urge to test it.
- Glue your findings. Roughen the flat back of each earring and the base of each post with fine sandpaper. Apply a small dot of epoxy or E6000, press the post on, and hold for thirty seconds. Let it cure overnight — not two hours, overnight.
- Finish and wear. If you made dangles, attach your jump rings and hooks. A quick buff with a soft cloth brings up a gentle sheen.
Beginner Tips
Here’s the mistake nearly everyone makes first: they skip the conditioning step. It feels like a chore, so they roll straight into cutting shapes. Then the earrings crack in the oven and they blame the clay. Knead properly. Your wrists will complain and your earrings will thank you.
Second — and this one catches people who’ve done a bit of sewing — don’t use your fabric scissors on clay. Clay blunts blades fast. Keep a separate craft knife for this and nothing else.
Third, watch your dust. Polymer clay is a magnet for every stray hair and crumb in your house. Work on fresh parchment, keep wet wipes nearby, and wipe your hands every time you switch colours. Muddy colours are the most common heartbreak in a first session.
Fourth, don’t overwork your pieces. The more you handle them, the more they pick up fingerprints and lint. Handle each shape as little as possible once it’s cut.
Counter-intuitively, the cheaper clay is often better for a first project. Premium brands hold detail beautifully, but they’re also firmer and take longer to condition. Starting with a mid-range clay means you spend less time kneading and more time making. Upgrade once you know you love it.
Creative Variation
Once you’ve made a plain pair, try a marbled set. Take two colours — say, white and a deep teal — pinch them into a rough log, twist it a few times, then fold and twist again. Roll the log into a slab and cut your shapes. Every piece comes out different, which is exactly the point. Don’t over-mix or you’ll get a muddy grey-brown. Three or four twists is plenty; the pattern should still show distinct ribbons of colour.
Want to push further? Try a simple cane. Roll a small log of one colour, wrap a thin sheet of another around it, then slice cross-sections to reveal a little bullseye pattern. Bake the slices flat onto your earring blanks. It looks intricate and takes about ten minutes once you’ve done it twice.
Troubleshooting
Your earrings cracked in the oven. Almost always under-conditioned clay or a slab with uneven thickness. The crack can sometimes be filled with a little fresh clay and re-baked, but honestly, most cracks become a “design feature” or a scrap. Knead longer next time.
The colour went slightly brown or dull. Your oven ran hot. Domestic ovens are famously inaccurate — mine runs 15°C over. Invest in a cheap oven thermometer. It’s the single best purchase for polymer clay work.
The posts fell off a week later. The glue failed. Either you skipped the sanding step or you didn’t let the epoxy cure long enough. Scrape off the old glue, roughen both surfaces properly, and try again with fresh adhesive.
Your clay is too crumbly to work with. It’s old or cold. Add a drop of mineral oil or a tiny smear of plain hand cream, then knead until it comes together. Give it time — five minutes of kneading can rescue clay that feels hopeless.
Your fingers are stained. Some strong pigments, especially reds and blacks, transfer to skin. It washes off eventually. Wearing nitrile gloves solves it, and they’re useful for keeping fingerprints off your clay anyway.
Has your first pair come out lopsided? Good. Wear them anyway. Nobody inspects your earlobes with a ruler, and the slightly wonky ones always get the most compliments.
You now have everything you need to make a pair of earrings that exist nowhere else in the world. Start with one colour, one shape, one afternoon. The clay is forgiving, the oven is already in your kitchen, and the worst that happens is you learn something and try again. Make the first pair for yourself. Then make the second pair for someone who’ll ask, “Wait — you made those?” And tell them yes. Then teach them how.