How to Make a Gratitude Journal: Easy DIY Guide
Some projects ask a lot of you. This one asks for an old notebook, a glue stick, and ten quiet minutes. That’s the whole deal. A gratitude journal you’ve made with your own hands sits differently on your desk than one you bought — it feels like an invitation rather than an obligation. Let’s make-a-memory-jar-easy-diy-guide/”>make-coasters-from-tile-easy-diy-guide/”>make one together.
Materials List
- A notebook. A plain A5 or A6 exercise book is perfect. If you don’t have one, a cheap spiral-bound notepad works, or even a stack of blank paper you’ll stitch or clip together. Size matters less than having something that opens flat.
- Decorative paper. Scrapbook paper, old wrapping paper, magazine pages, or pages from a damaged book. Whatever you’ve got. A single sheet covers most of a small notebook’s cover.
- Glue. A glue stick is the beginner’s best friend — no warping, no drying time. If you only have PVA, thin it slightly with water and brush it on sparingly. Double-sided tape is a solid backup.
- Scissors. Any pair. A craft knife and cutting mat give cleaner edges if you have them, but don’t let that stop you.
- A pen. A fine-liner or gel pen for the cover lettering. If your handwriting makes you nervous, a set of letter stickers or a stencil does the job beautifully.
- Optional extras: washi tape, ribbon for a bookmark, a bone folder (or the back of a spoon) for creasing, stickers, a date stamp.
Step-by-Step
- Clear your space and lay everything out. You don’t need a whole studio — a kitchen table with a tea towel underneath is fine. Having every material within reach means you won’t wander off mid-project and lose momentum.
- Measure your cover. Lay the notebook flat and measure the front cover: width and height. Add about 1.5cm to the width and 1.5cm to the height to give yourself a wrap-around margin. Write those numbers down. Guessing leads to a cover that’s just short, and that’s the most common first-timer heartbreak.
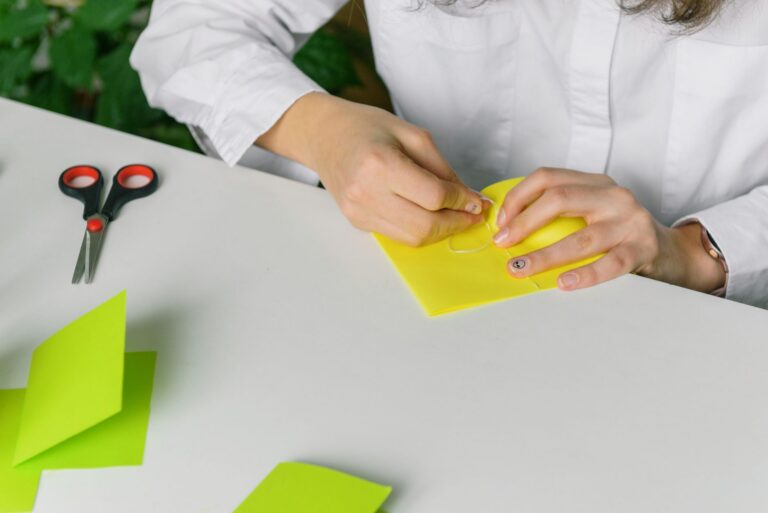
- Cut your decorative paper to size. Mark your measurements lightly in pencil on the back of the paper, then cut along the lines. Slow, long scissor strokes give a much cleaner edge than quick snips.
- Dry-fit before you glue. Place the paper on the cover and check the overhang on all four sides. It should look even. If one side is tight, trim the opposite side to balance it. This ten-second check saves you from a lopsided cover.
- Glue the cover. Run your glue stick across the whole front cover — edges included. Press the paper down from the centre outwards, smoothing with your hand as you go. Any air bubbles? Work them toward the nearest edge with your thumb.
- Wrap the edges. Flip the notebook over and fold the overhang around the edges of the cover, gluing as you go. Fold the corners in at a diagonal first, like wrapping a present, then fold the sides down. Press firmly with a bone folder or the back of a spoon.
- Add a title or a phrase. Keep it short. “Thankful” or “Good Things” or just your name and the year. Pencil it in first, then go over it with your pen. If lettering isn’t your thing, stickers or a printed label work just as well — nobody’s grading this.
- Make a ribbon bookmark (optional but lovely). Cut a piece of ribbon about 15cm long. Glue one end inside the back cover, near the spine, and let it dry flat under a heavy book for an hour.
- Set up your first page. Write the date at the top and three things you’re grateful for. Yes, right now. The journal isn’t finished until it’s been used — that first entry turns it from a craft project into a habit.
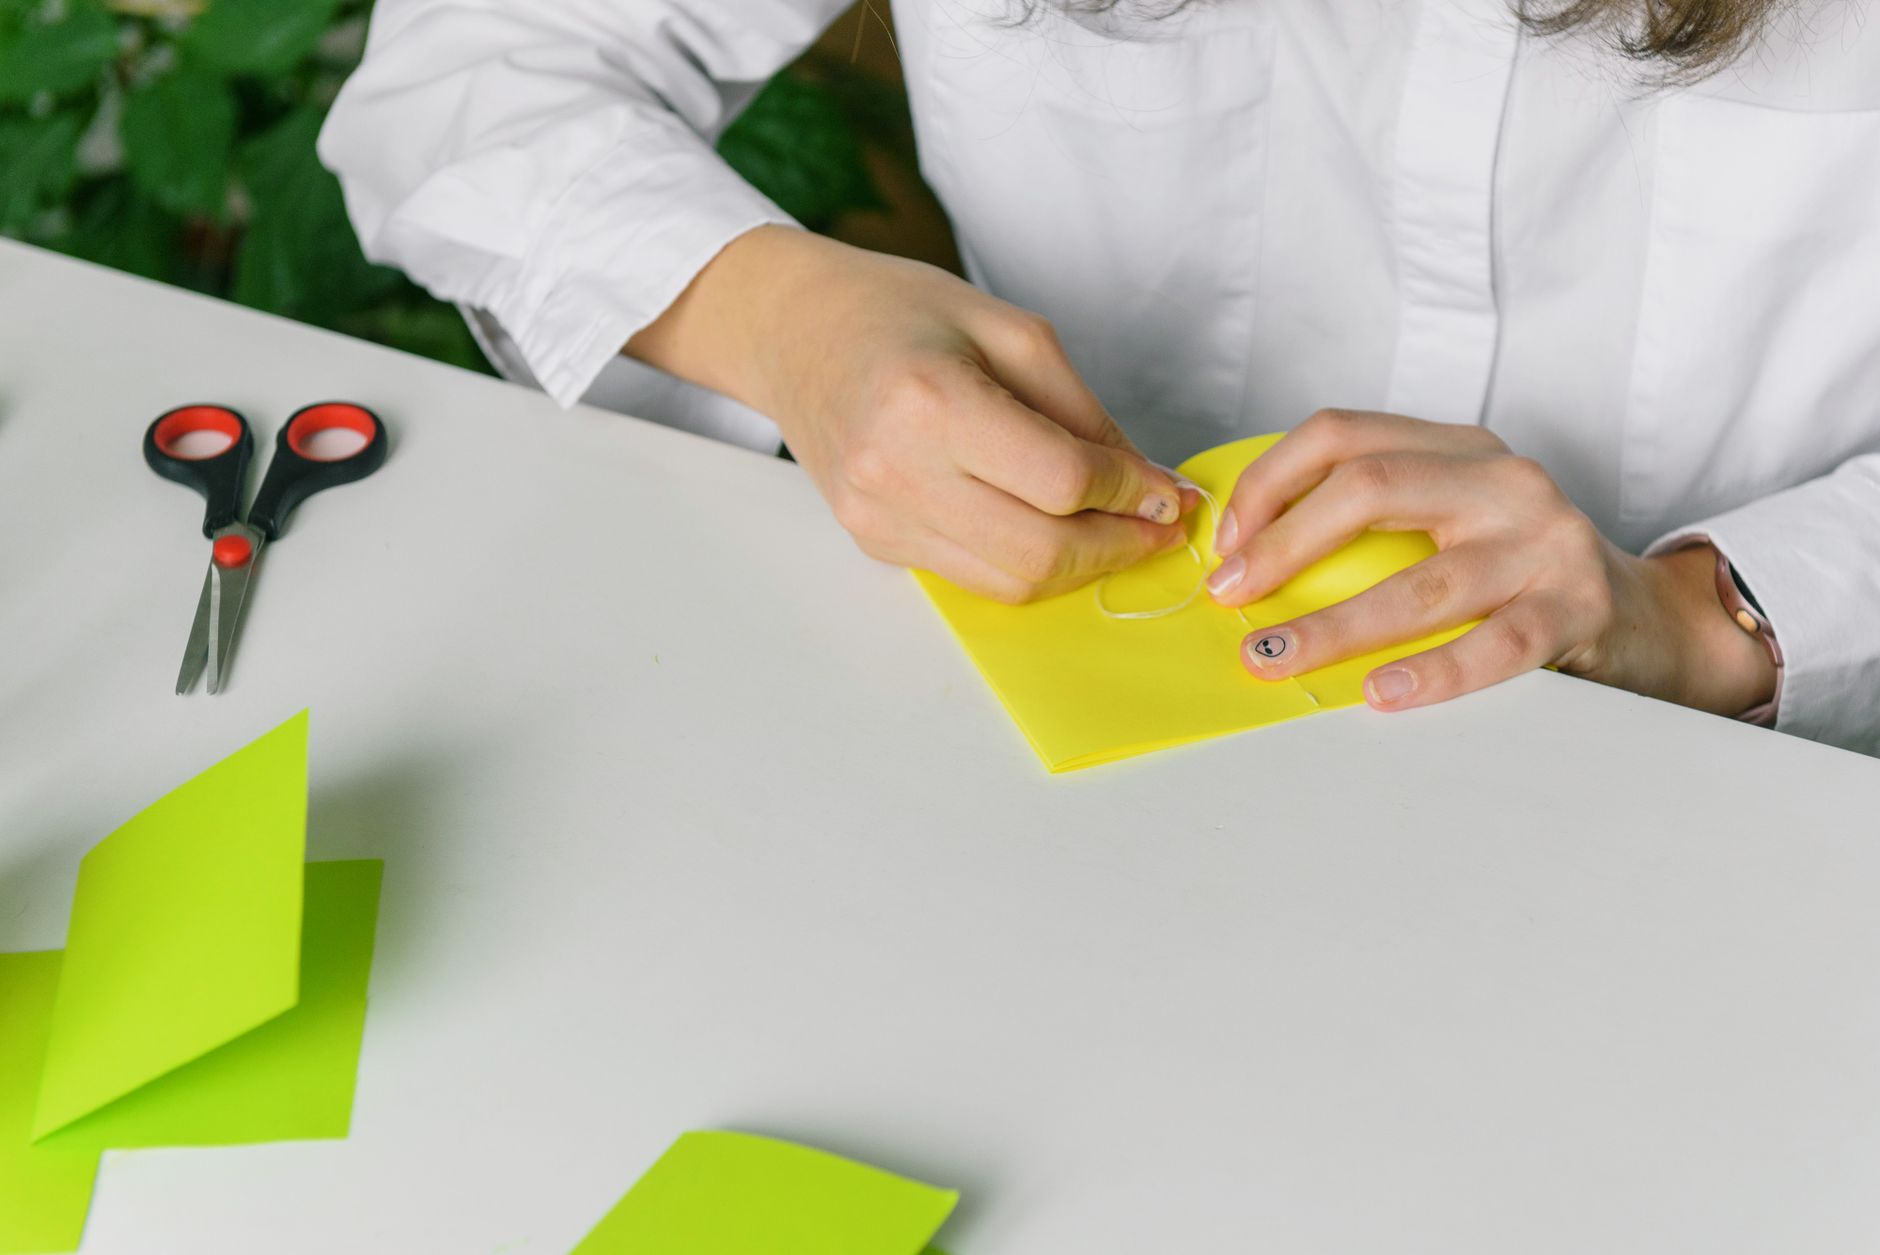
Beginner Tips
The single biggest mistake I see in workshops is gluing before measuring twice. People get excited, slap the paper down, and then discover it’s two millimetres short on one side. Measure, mark, measure again, then cut.
Another one: too much glue. A glue stick applied generously is fine, but if you’re using liquid glue, a thin, even layer beats a thick one every time. Thick glue soaks through the paper, wrinkles it, and takes forever to dry. You want the paper to lie flat, not look like it survived a flood.
Don’t skip the smoothing step, either. Pressing the paper down from the centre outward pushes air out before it gets trapped. Work quickly but deliberately — glue sticks stay tacky for a couple of minutes, which is plenty of time if you’re not rushing.
And here’s one that surprises people: don’t choose your most precious paper for your first attempt. Use the ordinary stuff. Your first cover is a practice run, and giving yourself permission to make it imperfect is what gets you to the second one.
Creative Variation
Here’s a counter-intuitive idea — make the journal deliberately unfinished. Leave the cover half-decorated, with blank space for stickers, ticket stubs, or doodles you’ll add as the weeks go on. Most craft tutorials push you toward a polished final product, but a gratitude journal that grows with you is far more likely to stay in use. Glue down one photo now. Add a pressed leaf in a month. Let the cover become a record of the same period the pages are recording. It’s a living object rather than a finished one, and that changes how you feel about picking it up.
Troubleshooting
The paper wrinkled. Liquid glue was too wet, or you pressed too hard while it was still damp. Let it dry completely under a heavy book — most wrinkles relax. If they don’t, embrace it. A slightly textured cover has character.
The edges are uneven. Trim the overhang with sharp scissors after the glue has dried, following the cover edge as your guide. Nobody will ever know.
The glue didn’t stick at the corners. Corners are fiddly. Add a small piece of double-sided tape underneath, press firmly, and hold for thirty seconds.
The pen bled or smudged on the cover. Some decorative papers resist ink. Test on a scrap first, or switch to stickers or a printed label. A smudge can also be covered with a small sticker or a doodle — call it a design choice.
The notebook won’t close flat. The wrapped edges are probably too thick. Press it under a heavy book overnight, and next time trim the overhang a little closer.
You’ve made something with your hands, and now you’ve got a place to notice the good stuff — the decent cup of tea, the friend who texted, the sun that showed up on a grey Tuesday. That’s the whole point. Grab your journal, write down three things before bed tonight, and see where it takes you. What’s the first thing going in yours?