Beginner Calligraphy Tools: Start With Just 3 Essentials
You don’t need a fancy studio or a hundred pounds of gear to start calligraphy. You need a pen that works. Paper that behaves. About twenty minutes of honest practice. That’s it. I’ve watched hundreds of beginners walk into my workshops convinced they need a thirty-nib set and a leather journal. They don’t. They need three things, and most already own one of them.
Why bother putting together a beginner kit at all? Because the wrong tools make good handwriting look bad, and the right ones make shaky handwriting look charming. When your pen skips or your ink bleeds, you blame yourself. Don’t. Blame the paper. Get your setup right and every practice session actually teaches you something instead of just frustrating you into quitting by Thursday.
Materials List
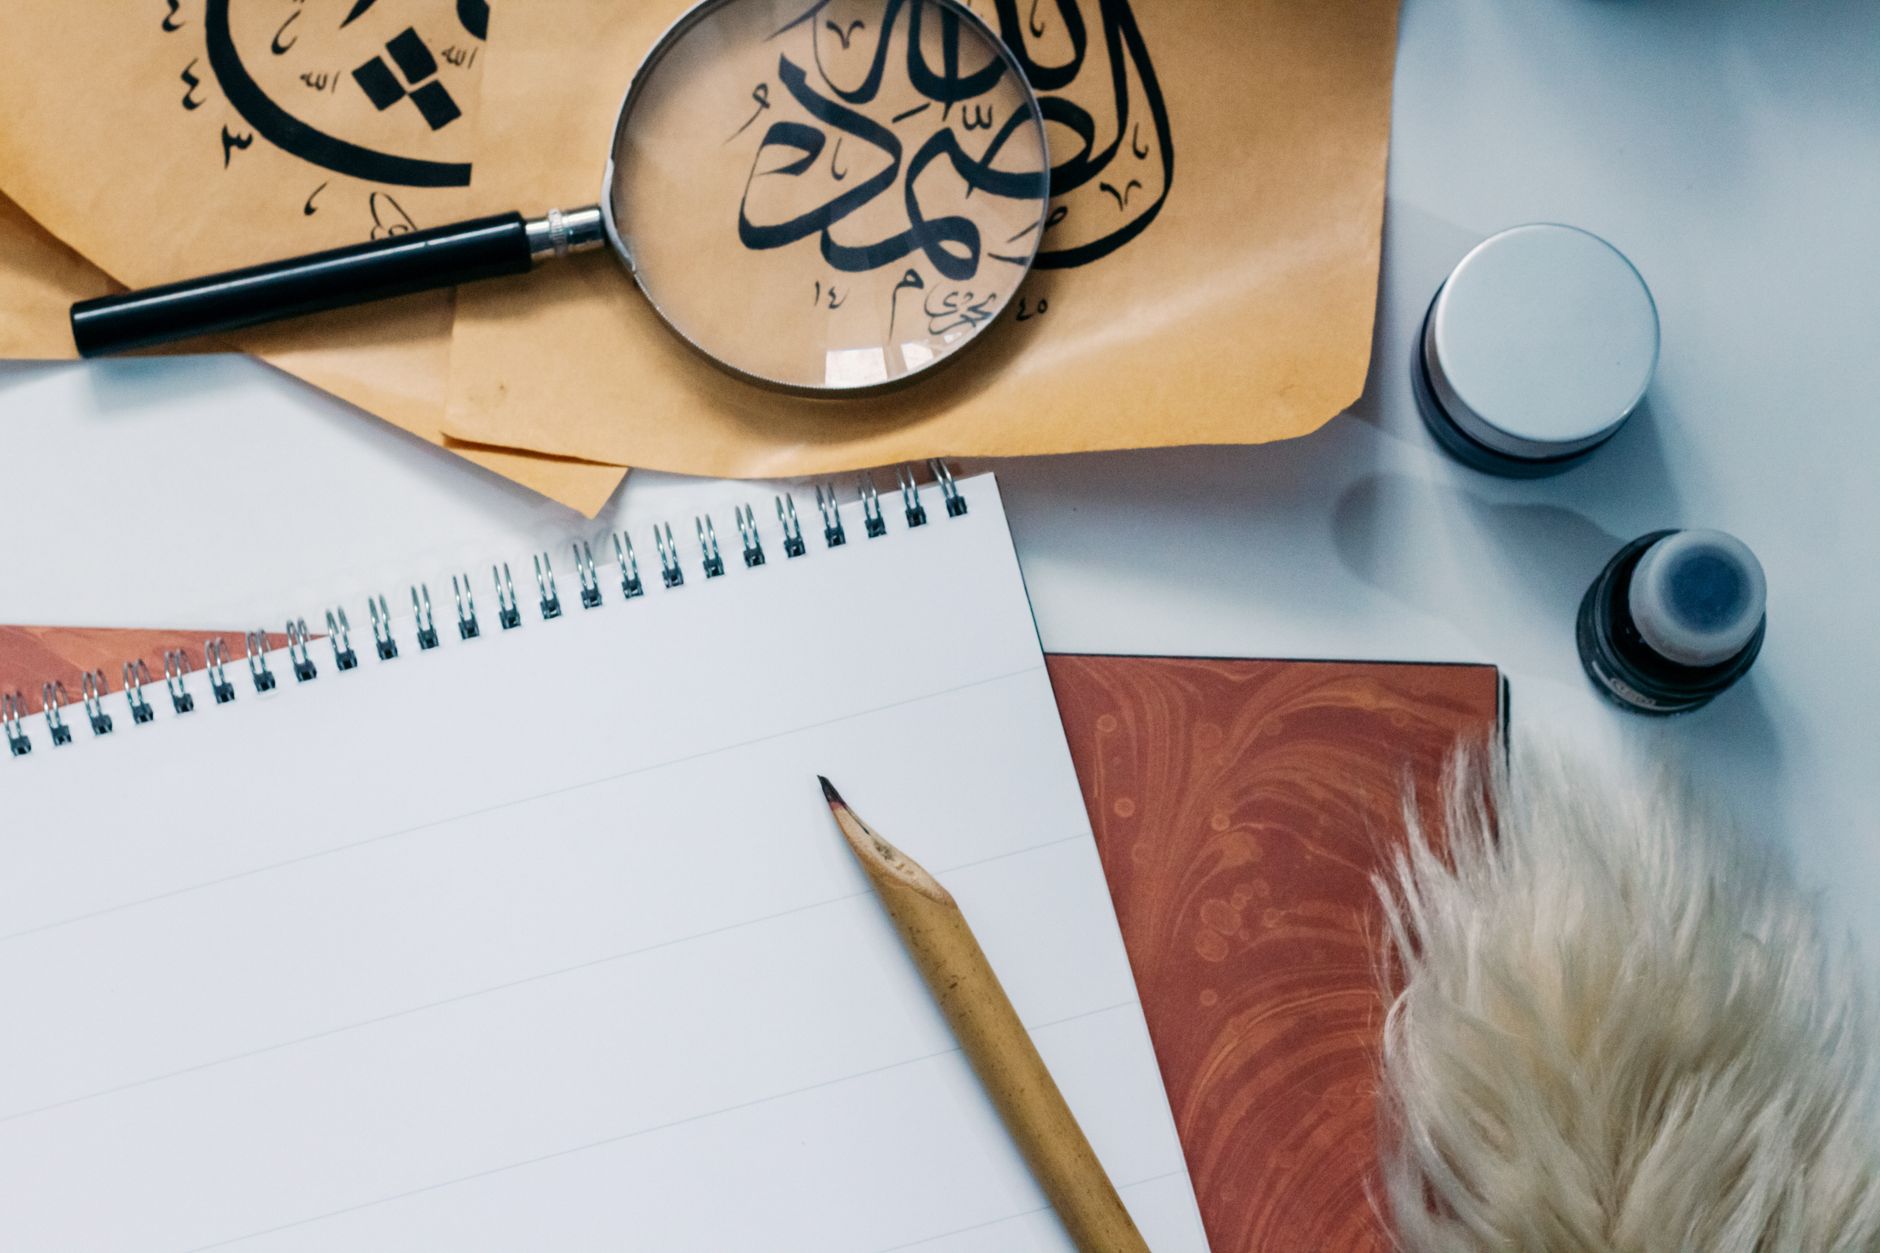
- A dip pen holder — the basic plastic or wooden kind with a metal ferrule. The Speedball straight holder is the classic starter. Alternative: a cheap fountain pen with a flex nib, or even a brush pen like the Tombow Fudenosuke if you want zero fuss.
- Two or three nibs — a pointed nib for copperplate-style writing (the Nikko G is forgiving and cheap), and a broad-edge nib for italic or blackletter (a Speedball C-2 works fine). Alternative: a set of fine liner pens in different widths if metal nibs feel intimidating.
- Ink — sumi ink, walnut ink, or a basic calligraphy ink. Avoid India ink for dip pens; it clogs. Alternative: watered-down acrylic paint, or gouache thinned to a milky consistency.
- Paper — smooth, heavy, and sized. Rhodia pads, Strathmore Bristol, or HP Premium 32 lb laser paper. Alternative: any paper that passes the “no bleed” test with your chosen ink.
- Guidelines — printed sheets or a light box. You can print slant guides for free from most calligraphy websites. Alternative: draw your own with a ruler and pencil.
- A water jar and rag — for rinsing nibs between colors. An old jam jar works perfectly.
- A pencil and eraser — for light guidelines you’ll erase later.
Step-by-Step
- Prep your nib. New nibs come coated in a thin oil film that repels ink. Scrub it gently with a soft toothbrush and a dab of toothpaste, or pass it briefly through a flame. Don’t overdo the flame — two seconds is plenty. Rinse and dry.
- Set up your paper. Place your guideline sheet underneath your writing paper if the paper is thin enough to see through. If not, use a light box or tape both to a window. Slant guides matter more than most beginners realize — they keep your letters consistent.
- Load the nib. Dip just the metal tip into the ink, no deeper than the vent hole (the little opening in the middle of the nib). Too much ink and you’ll get a blob on your first stroke. Tap the side gently against the jar rim.
- Test your stroke. Make a few downstrokes on scrap paper. You’re checking two things: does the ink flow evenly, and does the paper hold the line without feathering? If the ink spreads like a spider, your paper is the problem, not you.
- Hold the pen correctly. Grip it lightly, like a bird you don’t want to crush. Rest it in the web between thumb and index finger, angle it about 45 degrees to the paper. Your wrist stays off the table; your forearm does the moving.
- Start with basic strokes. Before letters, practice the four fundamental strokes: downstroke, upstroke, overturn, underturn. Ten minutes of these beats an hour of wobbly alphabet attempts.
- Clean as you go. Rinse your nib in water every few minutes, especially with pigmented inks. Dried ink on a nib is the number one cause of scratchy writing. Dry it on your rag and reload.
- Build letters from strokes. Once your strokes look steady, combine them. The lowercase “n” is just an underturn plus an overturn. Every letter is a remix of what you already practiced.
- Finish and store. Wipe your nib dry, cap your ink, and lay your pen flat. Never store a dip pen nib-side down in a cup — you’ll bend the tines.
Beginner Tips
Here’s the mistake I see most often: people press down way too hard. Calligraphy is not handwriting with more pressure. It’s handwriting with less. The nib does the work if you let it. Your hand should feel almost lazy.
The second mistake is skipping the guidelines. I know, they feel like training wheels. But every professional calligrapher still uses them. Consistency comes from structure, not from talent.
Third — and this one surprises people — don’t practice for hours. Twenty focused minutes a day beats a three-hour weekend session every time. Muscle memory builds in short, repeated bursts. Your brain needs the sleep in between to lock it in.
And please, don’t buy the expensive stuff first. A ten-pound starter kit will teach you everything a hundred-pound set will. Upgrade when you’ve actually worn out a nib, not before.
Creative Variation
Once you’re comfortable with black ink on white paper, try a two-tone dip. Load your nib with one color, then touch just the tip into a second color before you write. Every stroke shifts from one shade to the other as the ink runs out. It’s unpredictable, it’s messy, and it looks absolutely gorgeous on handmade cards.
Counter-intuitive as it sounds, I think beginners should experiment with color before they’ve mastered letterforms. Why? Because when your letters are technically imperfect but visually striking, you stay motivated. Perfection can wait. Enjoyment can’t.
Troubleshooting
Ink won’t flow at all. Your nib still has factory oil on it, or dried ink from a previous session. Scrub it again with toothpaste and a soft brush. Nine times out of ten, that fixes it.
Ink blobs in the middle of a stroke. You’ve overloaded the nib, or you’re pausing mid-stroke and letting ink pool. Dip less. Keep the pen moving.
Lines look feathery and fuzzy. That’s the paper, not you. Your ink is soaking into the fibers. Switch to a smoother, coated stock. Try your ink on the back of a glossy receipt — if it stays crisp there, you’ve confirmed the paper is the culprit.
Your upstrokes are scratchy. Pointed nibs are designed to catch slightly on the way up. That’s normal. If it’s tearing the paper, lighten your pressure and check that your nib tines are aligned. Look at the tip under good light — the two halves should meet evenly.
Everything looks shaky. Good. That means you’re a beginner, which is a temporary condition. Slow down, use guidelines, and remember that even the calligraphers you admire have boxes full of terrible early practice sheets.
Ink dries too fast on the nib. Some inks are just thirsty. Add a tiny drop of water to your ink well, or work faster. If it’s a hot day, keep a damp sponge nearby and touch the nib to it between strokes.
Conclusion
Starting calligraphy is less about the tools and more about the decision to sit down and make marks for twenty minutes. Grab a pen, a nib, and a sheet of paper that doesn’t fight you back. Print some guidelines. Do the boring strokes. Your first letters will be lumpy, and that’s exactly how it should be. Every beautiful script you’ve ever admired started as someone’s clumsy attempt. So — what’s stopping you from making yours today?