Decoupage for Beginners: Easy Step-by-Step Tutorial
Ever looked at a beautifully decorated wooden box or a vintage-style tray in a shop and thought, “I could never make that”? You absolutely can. Decoupage is one of the most forgiving crafts out there — it’s basically cutting out pretty paper, gluing it onto something, and sealing it so it looks painted on. If you can use scissors and a paintbrush, you’re already qualified. Let’s make something lovely together.
Why bother with decoupage? Because it turns cheap, boring objects into personalised treasures in an afternoon. A plain wooden tissue box becomes a gift. An old glass jar becomes a candle holder worth keeping. You need almost no specialist tools, it costs pennies per project, and the results look genuinely impressive. It’s also wonderfully meditative — the kind of craft you can do at the kitchen table while the dinner simmers. Best of all, mistakes are easy to fix. There is no “ruined” in decoupage, only “not finished yet.”
Materials List
- Something to decorate. A plain wooden box, a terracotta plant pot, a glass jar, an MDF coaster, or even a sturdy cardboard notebook cover. Smooth, clean surfaces work best.
- Decoupage medium. You can buy a dedicated decoupage glue, but honestly, plain PVA craft glue diluted with a little water (roughly 3 parts glue to 1 part water) works brilliantly and costs far less. Mod Podge is the classic choice if you want something ready-made.
- Paper for cutting. Thin papers behave best: napkins, tissue paper, magazine pages, sheet music, wrapping paper, or purpose-made decoupage paper. Thick cardstock is harder to work with because it doesn’t like to lie flat.
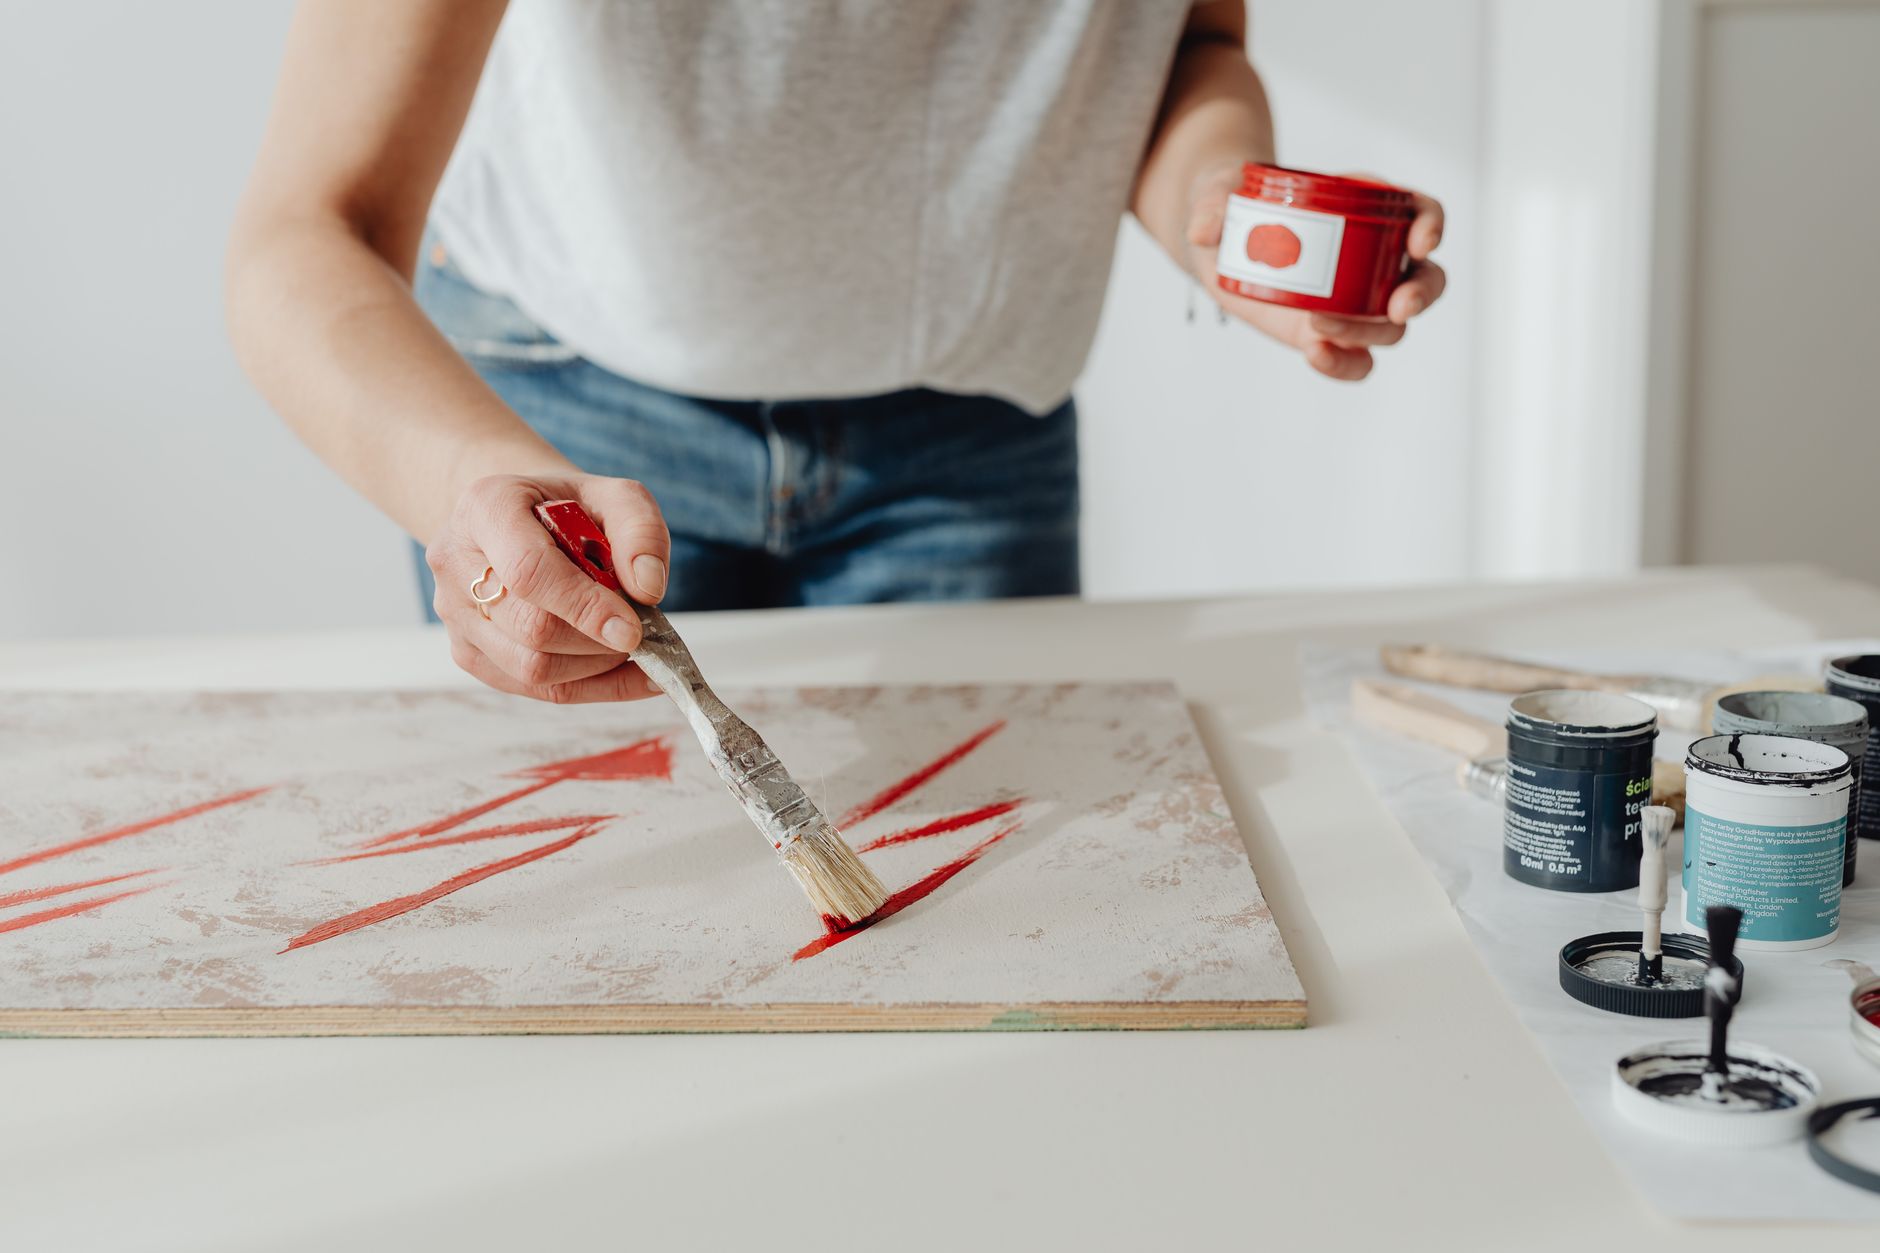
- A paintbrush. A flat, soft brush about 2cm wide is ideal. Cheap chip brushes shed bristles, so a soft synthetic brush is worth the small upgrade.
- Small sharp scissors. Nail scissors or embroidery scissors are perfect for fiddly shapes.
- A sponge or damp cloth. For smoothing paper and wiping away excess glue.
- Acrylic paint (optional). If you want to paint the base object first — a coat of white or cream makes colours on your paper pop beautifully.
- A clear sealer (optional). A water-based varnish or acrylic sealer gives a durable, wipeable finish. For items that won’t be handled much, extra coats of decoupage medium will do.
- An old magazine or baking paper. To work on so you don’t glue your project to the table.
A quick note on alternatives: if you don’t have decoupage medium, watered-down PVA is genuinely fine. No soft brush? A clean makeup brush works. No purpose-made paper? Raid the recycling bin. This craft rewards resourcefulness.

Step-by-Step
- Prepare your surface. Wipe your object clean and let it dry completely. If it’s bare wood, give it a light sand with fine sandpaper, then wipe away the dust. If you’re painting the base first, do that now and let it dry fully — at least an hour, ideally overnight. Working on a wet painted surface is a recipe for sliding paper and frustration.
- Choose and prepare your paper. Decide roughly where each piece will go before you cut anything. If you’re using napkins, separate the layers — you only want the top printed ply. For tissue paper, handle it gently; it tears if you look at it too sternly.
- Cut out your designs. Cut close to the image but leave a tiny margin if the edges are dark or busy. For shapes with fine details, cut loosely around the outside first, then trim precisely. Tearing the edges instead of cutting gives a softer, more blended look — try both and see which you prefer.
- Test your layout. Place all your cut-outs on the object without glue. Move them around until you’re happy. This step takes two minutes and saves you from regretting a placement you can’t undo.
- Apply a base coat of medium. Brush a thin, even layer of decoupage medium onto the area where your first piece will go. Thin is key — puddles cause wrinkles and bubbles.
- Place your paper. Lay the cut-out onto the wet medium and gently press it down with clean fingers, working from the centre outwards. Don’t rub hard; you want to ease it flat, not stretch it.
- Smooth and seal. Brush another thin coat of medium over the top of the paper, again working from the centre outwards. This top coat is what makes the paper sink into the surface. If a bubble appears, press it out with a damp fingertip or prick it with a pin and smooth it down.
- Repeat for each piece. Work one cut-out at a time. Overlapping pieces should go on in layers, letting each one settle for a minute before adding the next. If a piece starts to slide, stop, let it dry a little, and reposition.
- Wipe away stray glue. Use a damp cloth or sponge to clean medium off the areas you didn’t mean to cover. Do this as you go — dried glue is much harder to remove.
- Let it dry completely. Give your project at least two hours, preferably overnight. Don’t poke at it. I know you want to.
- Add finishing coats. Once dry, brush on two or three more thin coats of medium, letting each dry between layers. For a tougher finish, switch to a water-based varnish for the final coat. This is what turns “glued paper” into “decorated object.”
- Sand lightly (optional). For a super-smooth, painted-on look, lightly sand the dried surface with very fine sandpaper, then wipe clean and add one last coat of medium. This is the trick that separates beginner work from professional-looking pieces.
Beginner Tips
The number one mistake beginners make is using too much glue. It feels safer to slather it on, but excess medium soaks the paper, makes it wrinkle, and takes forever to dry. Thin coats, more of them. That’s the whole secret.
Second mistake: using paper that’s too thick. If your cut-out feels like a greetings card, it will fight you. Stick to napkins, tissue, thin magazine pages, and lightweight printed paper for your first few projects.
Third: rushing the drying time. Decoupage is a patient craft. Each layer needs to be properly dry before the next one goes on, or you’ll trap moisture and end up with a cloudy, bubbling mess. Set a timer if it helps.
Fourth: forgetting to work from the centre outwards. Always push air and glue towards the edges, never back into the middle. It sounds fussy; it makes a real difference.
And here’s a counter-intuitive one: don’t aim for perfection on your first piece. The slightly imperfect, hand-made look is part of the charm. A few visible brush strokes and a slightly wonky edge read as character, not failure. Chasing flawless is the fastest way to hate a craft that should be relaxing.
Creative Variation
Here’s one way to make this your own: instead of a single flat design, build a patchwork. Tear small pieces of paper in two or three coordinating colours or patterns, then overlap them across the whole surface like a mosaic. Work in small sections, sealing each patch before adding the next. The result looks like hand-painted collage and hides any imperfections beautifully. Pick a colour palette first — say, muted blues and creams, or warm ochres and rusts — and stick to it. A limited palette is what makes random patches look intentional rather than chaotic. Try it on a plain wooden box or a lampshade blank.
Troubleshooting
Wrinkles appeared. This usually means too much glue or paper that’s too thick. Don’t panic. If it’s still wet, lift the paper gently, wipe away the excess medium, and lay it back down. If it’s dry, you can often smooth small wrinkles by pressing with a warm iron over baking paper — low heat, no steam.
Bubbles under the paper. Prick them with a pin, press the air out with a damp fingertip, and seal with a tiny dab of medium. Larger bubbles mean the paper has lifted; a little medium worked underneath with a soft brush usually re-adheres it.
The paper tore. Overlap a small torn piece on top once the area is dry, or disguise the tear by adding a cut-out flower or shape over it. Honestly, this is how half of my best designs happened.
Cloudy or milky finish. Usually trapped moisture or too-thick medium. Let it dry fully in a warm room and it often clears. If it doesn’t, a thin coat of clear varnish will even out the appearance.
Edges lifting after drying. Brush a little medium under the lifted edge, press it down firmly, and hold for a few seconds. Then seal over the top once more.
Sticky surface weeks later. You’ve probably used too much medium or a humid environment. A coat or two of proper varnish will seal it properly and stop the tackiness.
Want to see how it all comes together in real time? Grab a jar from the recycling, a napkin, and some watered-down PVA, and give it twenty minutes tonight. You’ll surprise yourself.
Decoupage isn’t about talent — it’s about patience and a willingness to play. The materials are cheap, the learning curve is gentle, and the results are the kind of thing people assume you bought. Start with something small and low-stakes, like a jar or a coaster, and let yourself be a beginner. Then make another one. And another. Before long you’ll be eyeing up every plain surface in your house and wondering what it would look like covered in flowers. That’s not a problem, by the way. That’s just what happens when you find a craft you love.