How to Make Coasters from Tile: Easy DIY Guide
The tile is cold against my palm. Its edges are still sharp enough to catch on a fingertip. I found a stack of them at a car boot sale last spring — plain white 10cm squares, the kind that used to sit on a bathroom wall in 1987. Fifty pence for six. The seller looked at me like I’d lost my mind. But I knew what they were going to become: a set of coasters that now sit on my coffee table, each one painted with a little sprig of eucalyptus and sealed with cork on the back. They’ve survived three years of mugs, condensation, and one unfortunate incident with a hot saucepan. If you’ve got a spare hour and a steady-ish hand, you can make a set too.
This is the perfect first project if you’ve never made anything before. Tiles are cheap, forgiving, and sturdy. You don’t need a kiln, a pottery wheel, or any fancy equipment. A pack of felt pads and a bottle of craft paint is genuinely enough to start. The finished coasters look like something you bought in a nice shop, and you made them on your kitchen table. That’s a very good feeling.
Materials List
- Ceramic tiles — 10cm x 10cm (4 inch) plain white or cream tiles work best. You can use glossy or matte, but matte takes paint more easily. Look for leftover tiles at DIY stores, car boot sales, or ask a tiler friend for spares. Avoid tiles with a heavily textured or patterned surface.
- Craft acrylic paint — any brand works. I use cheap acrylics from a discount shop. You’ll need two or three colours for your design. Metallic paints are lovely but can be tricky to seal.
- Paintbrushes — a small flat brush for backgrounds, a fine round brush for details. You don’t need expensive brushes. A pack of five synthetic brushes for a few pounds will do fine.
- Masking tape — the low-tack kind. This is for creating clean geometric lines and for holding stencils in place.
- Clear acrylic sealer or varnish — spray-on or brush-on. Make sure it’s waterproof and heat-resistant. A matte finish looks more professional than gloss, but that’s personal taste.
- Cork or felt pads — self-adhesive felt pads (the kind you put on chair legs) are the easiest option. Cut-to-size cork sheet works too. You need something to protect your table from scratches and to stop the coaster sliding.
- Rubbing alcohol and a cotton pad — for cleaning the tile before you start. This removes dust and grease so the paint sticks.
- Optional: stencils — you can buy small stencils or make your own from acetate. A simple leaf or geometric shape works well.
A note on alternatives: if you can’t find tiles, you can use small pieces of slate or even thick cardboard sealed with varnish. Slate is heavier and more rustic. Cardboard is lighter but won’t last as long. Tiles are the sweet spot.

Step-by-Step
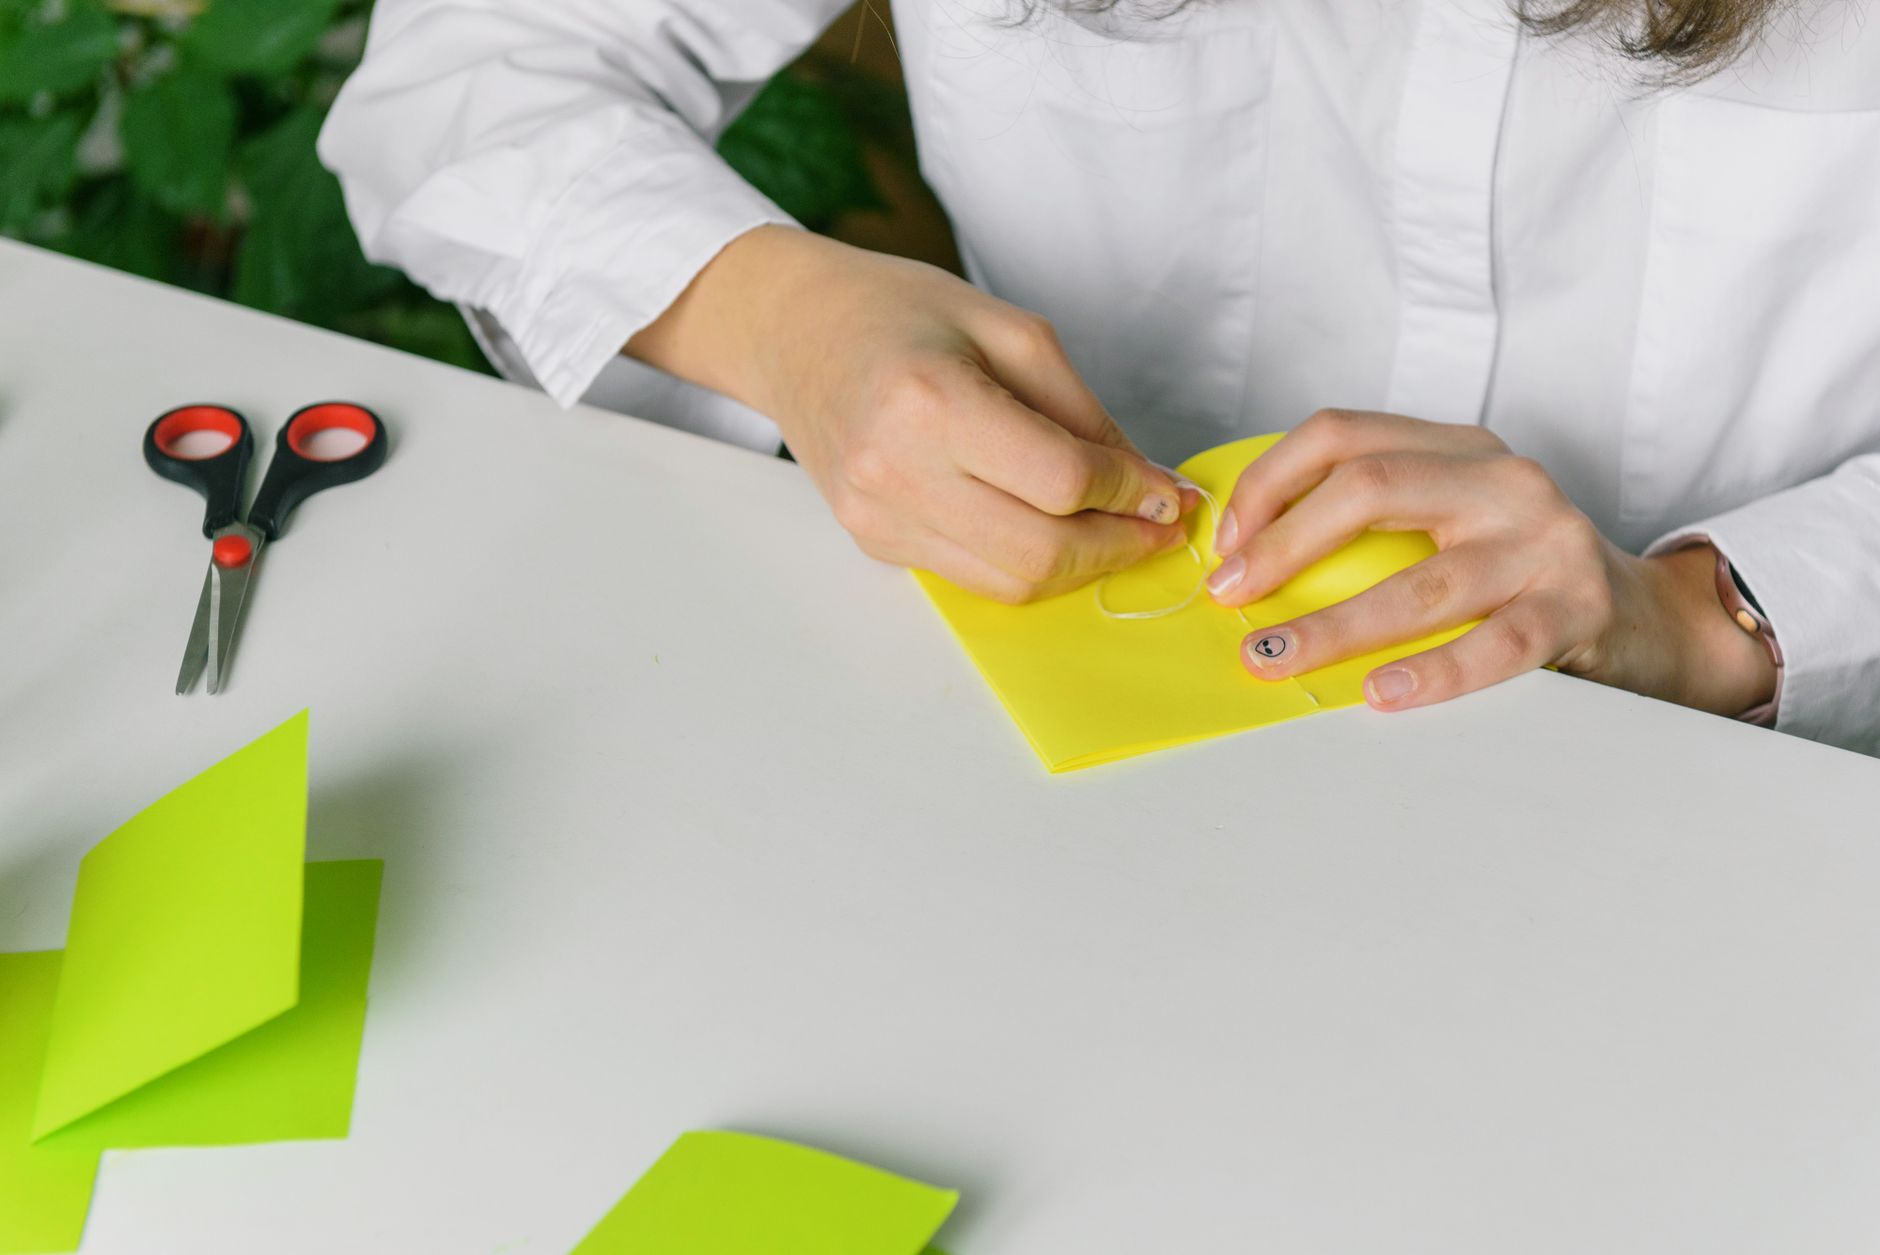
- Clean the tiles. Wipe each tile with a cotton pad soaked in rubbing alcohol. Let them dry completely. This takes about two minutes. Don’t skip this step — paint won’t stick to a greasy surface.
- Plan your design. Before you pick up a brush, sketch a few ideas on paper. Simple is better. Think: a single leaf, a stripe pattern, a small abstract shape, a monogram. You’re working on a 10cm square, so small details will get lost. I usually draw three or four rough designs and pick the one that feels most doable.
- Apply a base coat if needed. If your tile is glossy, a thin layer of white acrylic paint will give your design a better surface to grip. Use a flat brush and paint in one direction. Let it dry for 20 minutes. This is optional but recommended for glossy tiles.
- Tape off your design area. Use masking tape to create a border or a geometric shape. Press the edges down firmly so paint doesn’t bleed underneath. If you’re painting a freehand design, skip this step.
- Paint your design. Load your brush lightly. Too much paint will pool and crack as it dries. Work in thin layers rather than one thick coat. For a leaf, start with the stem and build the shape outward. For stripes, use a steady hand and a flat brush. Let each layer dry for 15 minutes before adding more.
- Remove the tape while the paint is still slightly tacky. This is the trick to crisp lines. If you wait until the paint is fully dry, the tape can pull off flakes of paint. Peel slowly at a 45-degree angle.
- Let everything dry completely. Give it at least an hour. Overnight is better.
- Seal the coaster. Take your clear sealer outside or open a window. Spray or brush on a thin, even coat. Follow the instructions on the can for drying time. Two thin coats are better than one thick one. The first coat should be dry before you add the second.
- Add the felt pads. Stick four small felt pads to the bottom corners of each tile. If you’re using cork sheet, cut a piece slightly smaller than the tile and glue it on with strong craft glue. Press down firmly and let it set.
- Let the coasters cure. This is the hardest part. Leave them alone for 24 hours before you use them. The sealer needs time to fully harden. After that, they’re ready for mugs, glasses, and the occasional candle.
Beginner Tips
The first time I made these, I made every mistake in the book. Learn from my errors.
Don’t use too much paint. Acrylic paint dries fast, but if you slop it on thickly, it will crack and peel. Thin layers are your friend. If you can still see the tile underneath after one coat, that’s fine — just add another thin layer once it’s dry.
Test your sealer on a spare tile first. Some sealers react badly with certain paints and turn them cloudy or yellow. Paint a small scrap tile, seal it, and wait a day. If it looks good, proceed. If not, try a different brand.
Don’t skip the felt pads. Without them, your coasters will scratch your table and slide around. The felt also absorbs condensation that drips down the side of a glass. It’s a small detail that makes a big difference.
Work on a protected surface. Acrylic paint will stain a wooden table. Put down newspaper or a plastic sheet before you start. This seems obvious, but I’ve ruined more than one tablecloth by thinking “I’ll be careful.”
Accept imperfection. Handmade means handmade. A slightly wobbly line or a brush stroke that went a bit wide is part of the charm. Don’t try to fix tiny mistakes by painting over them while the paint is wet — you’ll make it worse. Wait for it to dry, then decide if it really bothers you. Usually it won’t.
Creative Variation
Here’s a counter-intuitive idea: don’t paint the coaster at all. Instead, use the tile as a base for something else. I made a set last Christmas by covering each tile with a square of pretty fabric, then sealing it with several coats of Mod Podge. The fabric gives you instant colour and pattern without any drawing skills. Choose a fabric with a small repeating print — florals, dots, or a subtle geometric. Cut it slightly larger than the tile, brush a thin layer of Mod Podge onto the tile, press the fabric down smooth, then seal the top with two more coats. Once it’s dry, trim the edges with a sharp craft knife and add the felt pads. The result looks like something from a boutique. And you can use up fabric scraps you already have.
Another variation: use a stencil and a sponge to create a repeating pattern across all four coasters. A simple leaf or chevron stencil works well. The key is to use very little paint on the sponge — dab it on a scrap piece of paper first to remove the excess. Then press gently onto the tile. Stencilling is faster than freehand and gives you a more uniform look.
Troubleshooting
The paint is peeling off. This usually means the tile wasn’t clean enough or the paint was applied too thickly. Scrape off the loose paint with a craft knife, wipe the tile with rubbing alcohol, and start again with thinner layers. If the peeling happens after sealing, the sealer might not be compatible with the paint. Try a different brand of sealer.
The sealer turned cloudy. This can happen if you sprayed too close to the coaster or if the humidity was too high. Let it dry completely, then try buffing it gently with a soft cloth. If that doesn’t work, you may need to sand it lightly with fine sandpaper and apply a new coat in better conditions. Always seal in a well-ventilated area, ideally outdoors, on a dry day.
The felt pads won’t stick. Some tiles have a slightly dusty or oily surface on the back. Wipe the back with rubbing alcohol and let it dry completely before attaching the pads. If the pads still won’t stick, use a tiny dot of strong craft glue on each pad before pressing it down.
The coaster wobbles. Your tile might not be perfectly flat, or the felt pads might be uneven. Check that all four pads are the same thickness. If one is thinner, add a second pad on top of it. A wobbling coaster is annoying, but it’s an easy fix.
You hate the design. It happens. Don’t throw the tile away. Acrylic paint can be removed from glazed ceramic with a little rubbing alcohol and a lot of elbow grease, or you can paint over it with a solid base coat and start again. Tiles are forgiving. That’s why they’re a great material for beginners.
One more tip: make a practice coaster first. Before you commit to a set of four, paint one tile and seal it. Live with it for a few days. See how it holds up to a hot mug. Then adjust your technique if needed. It’s much better to learn on one coaster than to ruin a whole set.
Conclusion
There’s something deeply satisfying about turning a plain, overlooked object into something useful and beautiful. These coasters cost me less than five pounds for the whole set. They’ve been used every day for three years. And every time someone asks where I got them, I get to say “I made them” — which never gets old. You don’t need talent to do this. You need a tile, a brush, and twenty minutes. So grab a tile and give it a go. What’s the worst that could happen? You end up with a slightly wonky coaster that still does its job perfectly.