Pressed Flower Art: A Beginner’s Guide
There’s a small trick to pressing flowers that most people never learn. It’s the reason so many first attempts come out brown and brittle. The flowers you press need to be dry. Not slightly damp from the morning, not fresh from a florist’s bucket. I learned this the hard way after watching a whole tray of delphiniums turn to mush because I pressed them on a rainy afternoon. Once you know this, pressed flower art becomes one of the most forgiving crafts out there. It costs almost nothing to start, and you can make something genuinely beautiful in an afternoon. Let me show you how I do it.
Why make pressed flower art? It’s slow, quiet, and deeply satisfying. You’re preserving something fleeting. The results look far more expensive than they cost. And you can start today with flowers from your garden or a cheap supermarket bunch. No special equipment needed.
Materials List
- Fresh flowers and leaves — flat-faced blooms work best: pansies, daisies, cosmos, forget-me-nots, violets, clover. Avoid thick, fleshy flowers like roses or succulents; they hold too much moisture and go mouldy.
- Parchment paper or baking paper — two sheets. Alternatives: blotting paper, coffee filters, or newspaper (though newspaper ink can transfer onto pale petals).
- Heavy books — two or three thick hardbacks. A phone book works brilliantly if you can find one. Alternatively, a proper flower press, which you can make from two squares of plywood and four bolts.
- Card stock or watercolour paper — for mounting your finished art. Heavyweight is better because thin paper buckles when it absorbs glue. Alternatives: blank greeting cards, a plain notebook cover, or a wooden picture frame backing.
- Acid-free craft glue — a small bottle with a fine nozzle. Alternatives: PVA glue applied with a cocktail stick, or double-sided tape for a no-mess option (though tape can yellow over time).
- Tweezers — the most underrated tool in this whole list. You’ll use them constantly for lifting delicate petals without bruising them.
- Small paintbrush — for applying glue precisely.
- A frame or glassine envelope — for displaying or protecting your work.
Step-by-Step
- Pick your flowers at the right moment. Go out mid-morning on a dry day, after the dew has lifted but before the sun gets fierce. Choose flowers that are fully open but not past their best. Pick more than you need, because some will fail. Snip the stems short and carry them home in a flat container so the petals don’t crush.
- Prep each flower. Remove the stems entirely if you’re pressing individual blooms. For leaves, lay them flat. For flowers with thick centres, like daisies, you can slice the back off the flower head with a sharp knife to reduce the bulk. This is the single biggest thing that stops mould.
- Arrange on parchment. Place your flowers face-down or face-up depending on the look you want. Face-up keeps the colour on show. Space them so they don’t overlap. For leaves and stems, arrange them in a natural curve now, because they’ll set that way.
- Sandwich and weight. Lay the second sheet of parchment on top. Place the whole thing inside a heavy book, ideally between two sheets of blotting paper if you have it. Stack more books on top. Aim for around 5–10 kg of weight.
- Wait — and resist the urge to peek. Leave everything alone for at least two weeks. Three is better for thicker blooms. Change the parchment once after the first week if you remember, which helps speed drying and prevents browning.
- Test for dryness. After two weeks, open the book. A properly pressed flower should feel papery and stiff, not leathery. If it still bends, close it up and wait another week.
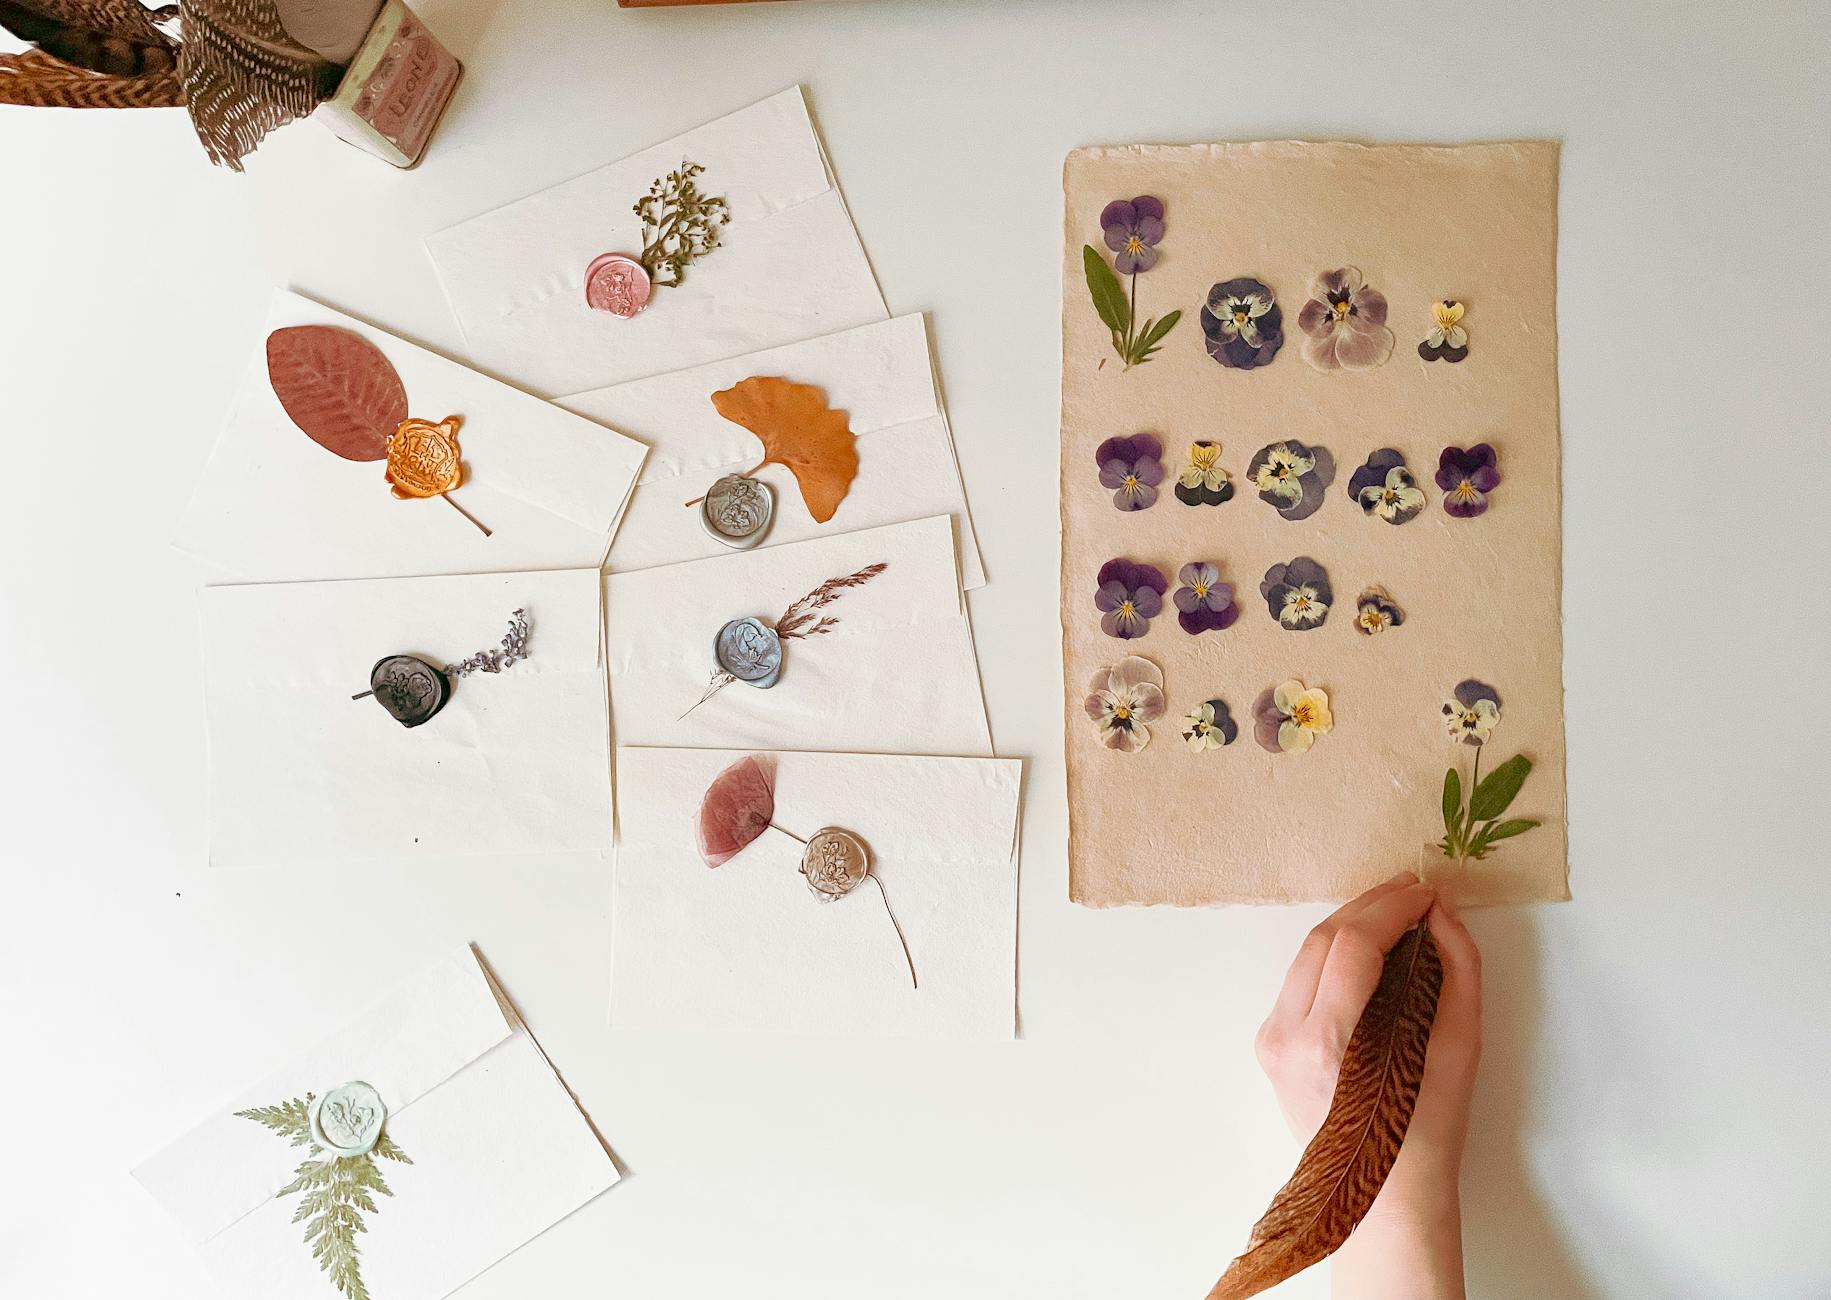
- Plan your composition. Before you glue anything, arrange your pressed flowers on your card stock. Move them around. Photograph the arrangement with your phone so you can recreate it if you knock it. This planning stage is where the art actually happens.
- Glue with restraint. Dip a fine paintbrush or cocktail stick in glue and apply small dots to the back of each flower. Press gently into place with tweezers. Don’t flood it — too much glue darkens the petals and bleeds through the paper.
- Let it dry flat. Place a sheet of parchment over your finished piece and weight it with a book for an hour. This stops the paper from curling as the glue dries.
- Frame or seal. Pop it in a frame with a glass front, or slip it into a glassine envelope if you’re giving it as a card. Keep it out of direct sunlight, which fades colour fast.

Beginner Tips
Here are the mistakes I see most often, and how to sidestep them. First, don’t press wet flowers. Ever. Damp petals turn brown within days. Second, don’t use thick, fleshy blooms — they’re a mould risk from the start. Third, don’t skip the parchment. Pressing directly in a book transfers ink and moisture into the pages, and your flowers will stick to the paper and tear when you lift them.
Fourth, press more than you need. Expect a 50% success rate the first time. That’s normal. Fifth, label your books. I once pressed violets and pansies in the same book and couldn’t tell them apart a month later. Sixth, don’t try to press a whole bouquet at once. Small, flat flowers give the best results. Also, keep your pressing book somewhere dry and warm — a damp cupboard will undo all your good work.
And here’s the counter-intuitive one: don’t press your flowers in a proper flower press. I know that sounds odd. But I’ve found that heavy books actually do a better job for most garden flowers because they apply more even pressure across the whole sheet. A press with screws can create uneven pressure points. Use the press for travel and books for home.
Creative Variation
Once you’ve made a simple pressed flower card, try a layered botanical silhouette. Instead of arranging flowers in a loose pattern, press a single stem of leaves and a few small blooms, then mount them against a dark background — deep navy or charcoal card stock. The bright petals pop against the dark paper in a way that looks almost like a vintage illustration. You can build a whole series of these in different colour combinations and frame them as a set. It’s a simple twist, but it changes the whole feel of the piece.
Troubleshooting
The flowers turned brown. This usually means moisture was trapped. Next time, dry the flowers more thoroughly before pressing, change the parchment after a few days, and make sure your book isn’t sitting in a humid spot. Some flowers, like red roses and certain poppies, brown no matter what you do — it’s the pigment, not your technique.
The petals stuck to the paper. You either pressed them on bare paper or used too much glue when mounting. Always press between parchment, and when mounting, use the smallest amount of glue you can get away with. If a petal tears, you can usually hide it under another flower in your arrangement.
The colours faded. Sunlight is the culprit. Once framed, hang your art away from a bright window. If you’re giving it as a gift, mention this — it’s the single best way to keep the colours vivid for years.
The paper buckled. Thin card stock warps as glue dries. Use heavier paper, or weight the piece under a book for longer. You can also pre-stretch your paper by lightly misting it and letting it dry flat before you start.
Mould appeared. Throw that batch away and start fresh. Mould means too much moisture, so switch to drier flowers, add more weight, and check your storage spot. Don’t try to salvage mouldy flowers — the spores spread.
Pressed flower art rewards patience more than skill. You don’t need to be artistic. You just need to be willing to wait a couple of weeks and to accept that some flowers won’t make it. The ones that do will be worth it. So — what’s growing near you right now that you could press this week?