How to Make Natural Dyes: A Beginner’s Guide
Onion skins, rusted nails, a handful of black tea bags. Three things most of us throw away, and every one of them can turn a plain cotton tote into something you’d pay good money for at a craft fair. Natural dyeing has been around for thousands of years, long before anyone figured out how to make colours in a lab. It’s slow. A little bit magic. And genuinely forgiving of mistakes. You don’t need a studio or a chemistry degree — a pot you don’t cook with, some plant matter, and a bit of patience will get you further than you think.
Learning to dye with plants is one of those skills that pays you back every time you use it. You’ll never look at onion skins the same way again. You’ll start noticing colour potential in every kitchen scrap and garden weed. It’s sustainable, it’s cheap, and it connects you to a tradition that stretches back centuries. Plus, there’s something deeply satisfying about wearing a scarf you coloured yourself from stuff that would otherwise have gone in the bin.
Materials List
- Plant material for colour. Onion skins (yellow or red), black tea, coffee grounds, turmeric, madder root, walnut husks, avocado stones and skins, red cabbage, or marigold flowers. Fresh or dried both work — dried is often more concentrated by weight.
- Your fibre. Natural fibres only, please. Cotton, linen, silk, or wool. Synthetic fibres like polyester won’t take natural dye in the same way, no matter how long you leave them in the pot.
- A large stainless steel or enamel pot. This becomes your dye pot forever — don’t plan on cooking dinner in it afterwards. Avoid aluminium and iron unless you’re deliberately going for a metal modifier, which changes the colour.
- A mordant. Alum (aluminium potassium sulfate) is the safest and most beginner-friendly option. Alternatives: iron water (rusty nails in vinegar and water) for darker, sadder tones; soy milk as a plant-based pre-treatment for cellulose fibres.
- Wooden spoon or tongs. Dedicated to dyeing, not stirring soup.
- Rubber gloves. Turmeric will stain your hands for days. Trust me on this one.
- Fine mesh sieve or muslin cloth. For straining out plant bits before you add your fabric.
- pH modifier (optional). A splash of white vinegar lowers the pH and can shift colours; a pinch of soda ash raises it. Great for experimentation.
- Old towels and a drying rack. Dye drips. Everywhere.
Step-by-Step
- Scour your fibre first. Wash your fabric or yarn thoroughly with a mild detergent and hot water to strip out oils and manufacturing residue. Skip this and the dye will sit on the surface and wash straight out. Rinse well.
- Mordant your fibre. Dissolve around 10% alum by weight of your dry fibre in a pot of warm water (so roughly 10g alum per 100g fabric). Add the wet fibre, heat gently to around 80°C, and hold it there for an hour. Stir occasionally with your wooden spoon. Let it cool in the pot, then squeeze out the excess water. Don’t rinse — you want that mordant working for you.
- Make your dye bath. Roughly fill your pot halfway with water and add your plant material. For onion skins, a good handful per litre of water is a solid starting point. For turmeric, a couple of tablespoons goes a very long way. Simmer gently for 45 minutes to an hour, then strain out the solids through your sieve or muslin. Compost the leftovers.
- Test the colour. Drop in a small scrap of mordanted fabric and leave it for ten minutes. Pull it out, let it dry, and see what you’ve got. This saves you from committing a whole garment to a colour you don’t love.
- Add your fibre and simmer. Wet your mordanted fabric first so it takes up dye evenly. Submerge it fully in the dye bath and heat gently — aim for a gentle simmer, not a rolling boil, which can felt wool and damage delicate silk. Keep it there for 30 to 60 minutes, stirring now and then to avoid patchiness.
- Let it steep. Turn off the heat and leave the fibre in the pot for several hours or overnight. This is where the colour really deepens. Patience is the secret ingredient here.
- Rinse and dry. Lift out your fibre and rinse in cool water until the water runs mostly clear. Don’t panic if some colour comes out — that’s normal. Hang to dry away from direct sunlight, then iron or press as needed.

Beginner Tips
Don’t skip the mordant. I know it feels like an extra step, and I know the impatient part of you wants to throw fabric straight into a pot of beetroot and call it done. Without a mordant, most natural dyes will fade to a pale ghost of themselves within a few washes. Alum is cheap, easy to find online, and makes a world of difference.
Use more plant material than you think you need. Beginners consistently under-dye. A few onion skins in a big pot of water will give you a whisper of beige, not the golden ochre you were dreaming of. When in doubt, double it.
Keep your dye pot separate from your cooking pots. This isn’t just about staining — some dye plants and mordants aren’t food-safe, and you don’t want traces of alum in your soup.
Write everything down. What plant, how much, what mordant, how long, what pH. Natural dyeing is gloriously unpredictable, and the only way to repeat a colour you love is to keep notes. A cheap notebook lives permanently next to my dye pot.
Expect muted colours. Here’s an opinion that might surprise you: muted is better. Natural dyes give you soft, earthy, living colours — dusty rose instead of hot pink, sage instead of neon green. If you want vivid, predictable, saturated colour, buy a box of synthetic dye. If you want something that looks like it grew out of the ground, you’re in the right place.
Creative Variation
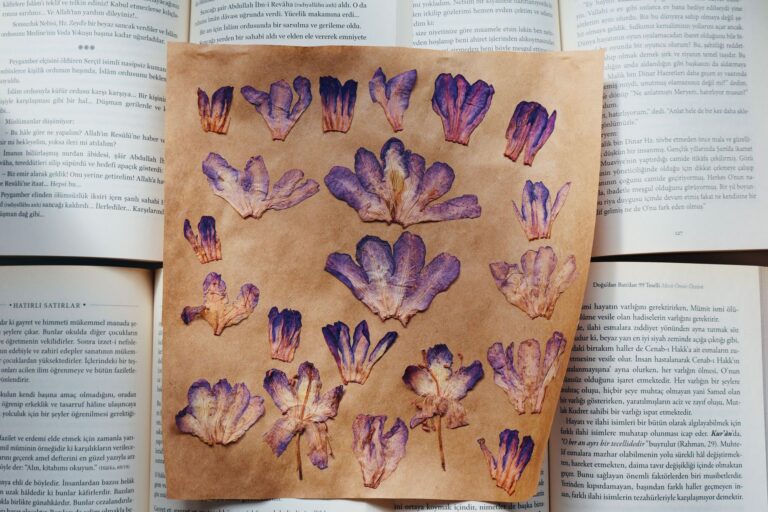
Once you’ve got a plain dyed piece, try bundle dyeing to add pattern. Lay your mordanted fabric flat, scatter it with flower petals, onion skins, rusty washers, and dried marigolds, then roll it tightly around a stick or a piece of dowel. Tie it firmly with string and steam it in a colander over a pot of boiling water for an hour. Unroll it once it’s cool and you’ll find the most extraordinary marks — soft halos of colour, speckles, ghostly petal prints. Every single one is different. It’s the closest thing to magic I know in a craft, and it turns a plain dye job into a one-of-a-kind textile you’ll want to frame.
Troubleshooting
The colour is too pale. You either didn’t use enough plant material, didn’t mordant properly, or didn’t leave it long enough. Re-mordant the fibre and put it back in a fresh, stronger dye bath. You can absolutely overdye.
The colour is patchy. Usually caused by fabric that wasn’t fully wet before it went in, or by not stirring. Rewet it thoroughly and try again with more water in the pot so it moves freely.
The colour washed out after the first wash. Almost always a mordant problem. Use a proper alum mordant next time and wash your dyed pieces in cool water with a pH-neutral soap.
The colour shifted unexpectedly. Could be your water — hard water affects results. Could be the pH of your pot. Try a splash of vinegar and see if it deepens the colour.
Your wool felted. Too much heat and too much agitation. Next time keep the temperature gentle and stir with a spoon rather than prodding the wool around.
Natural dyeing rewards the curious and forgives the messy. Start with onion skins — they’re free, they’re everywhere, and they give a gorgeous warm gold that’s almost impossible to get wrong. Then branch out. Try avocado stones for a soft pink that’ll surprise you, or black tea for a rich brown. Keep notes, keep experimenting, and don’t be precious about it. The worst that happens is you end up with a slightly beige tea towel. The best? You never look at a kitchen scrap the same way again. What are you going to dye first?