Beginner Weaving on a Loom: Easy First Project
The first time I sat down at a loom, I spent twenty minutes just staring at the warp threads, convinced I’d break something. Sweaty hands. Aching back from leaning in. Then I made one tiny pass with the weft and something clicked — that soft, satisfying thwack of the beater pushing yarn into place. Weaving looks complicated from the outside. Once you’re in it, it feels almost meditative. No expensive equipment needed. No years of practice. A frame, some string, and a willingness to make a few wonky rows — that’s the whole kit.
This project is worth making because it slows you down in the best way. You’ll end up with a small wall hanging, a coaster, or a bookmark — something real you can hold. Better still, you’ll learn the rhythm of over-and-under that every woven thing in your home is built on. Let’s get you set up.
Materials List
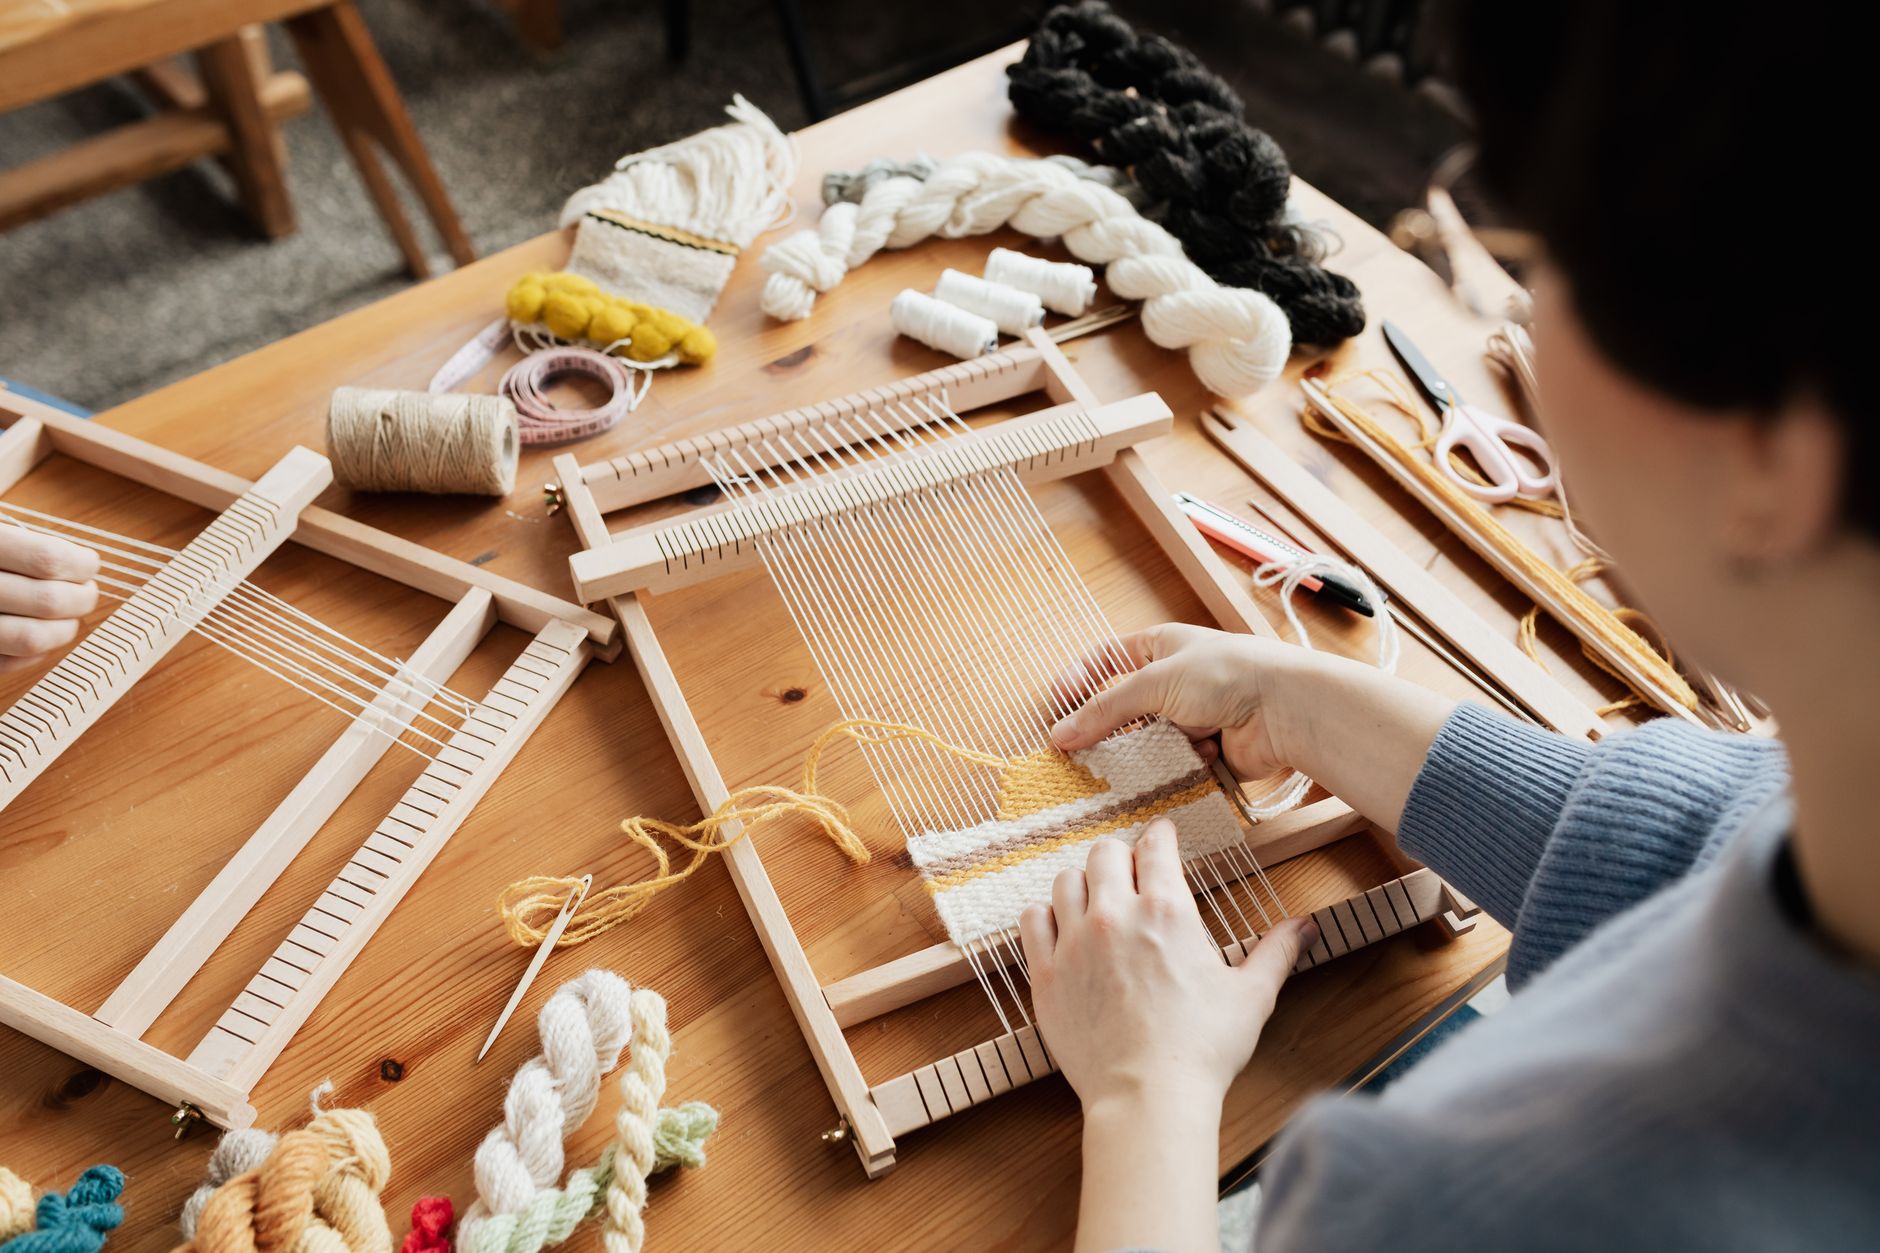
- A small frame loom. A beginner’s lap loom runs about £20, but a picture frame with small nails hammered along the top and bottom edges works just as well. Even a sturdy piece of cardboard with notches cut into it will get you through your first project.
- Warp yarn. This is the string that runs vertically and holds everything together. Cotton string, baker’s twine, or a smooth DK-weight cotton yarn all work. Skip anything fuzzy or stretchy — it’ll fight you the whole way.
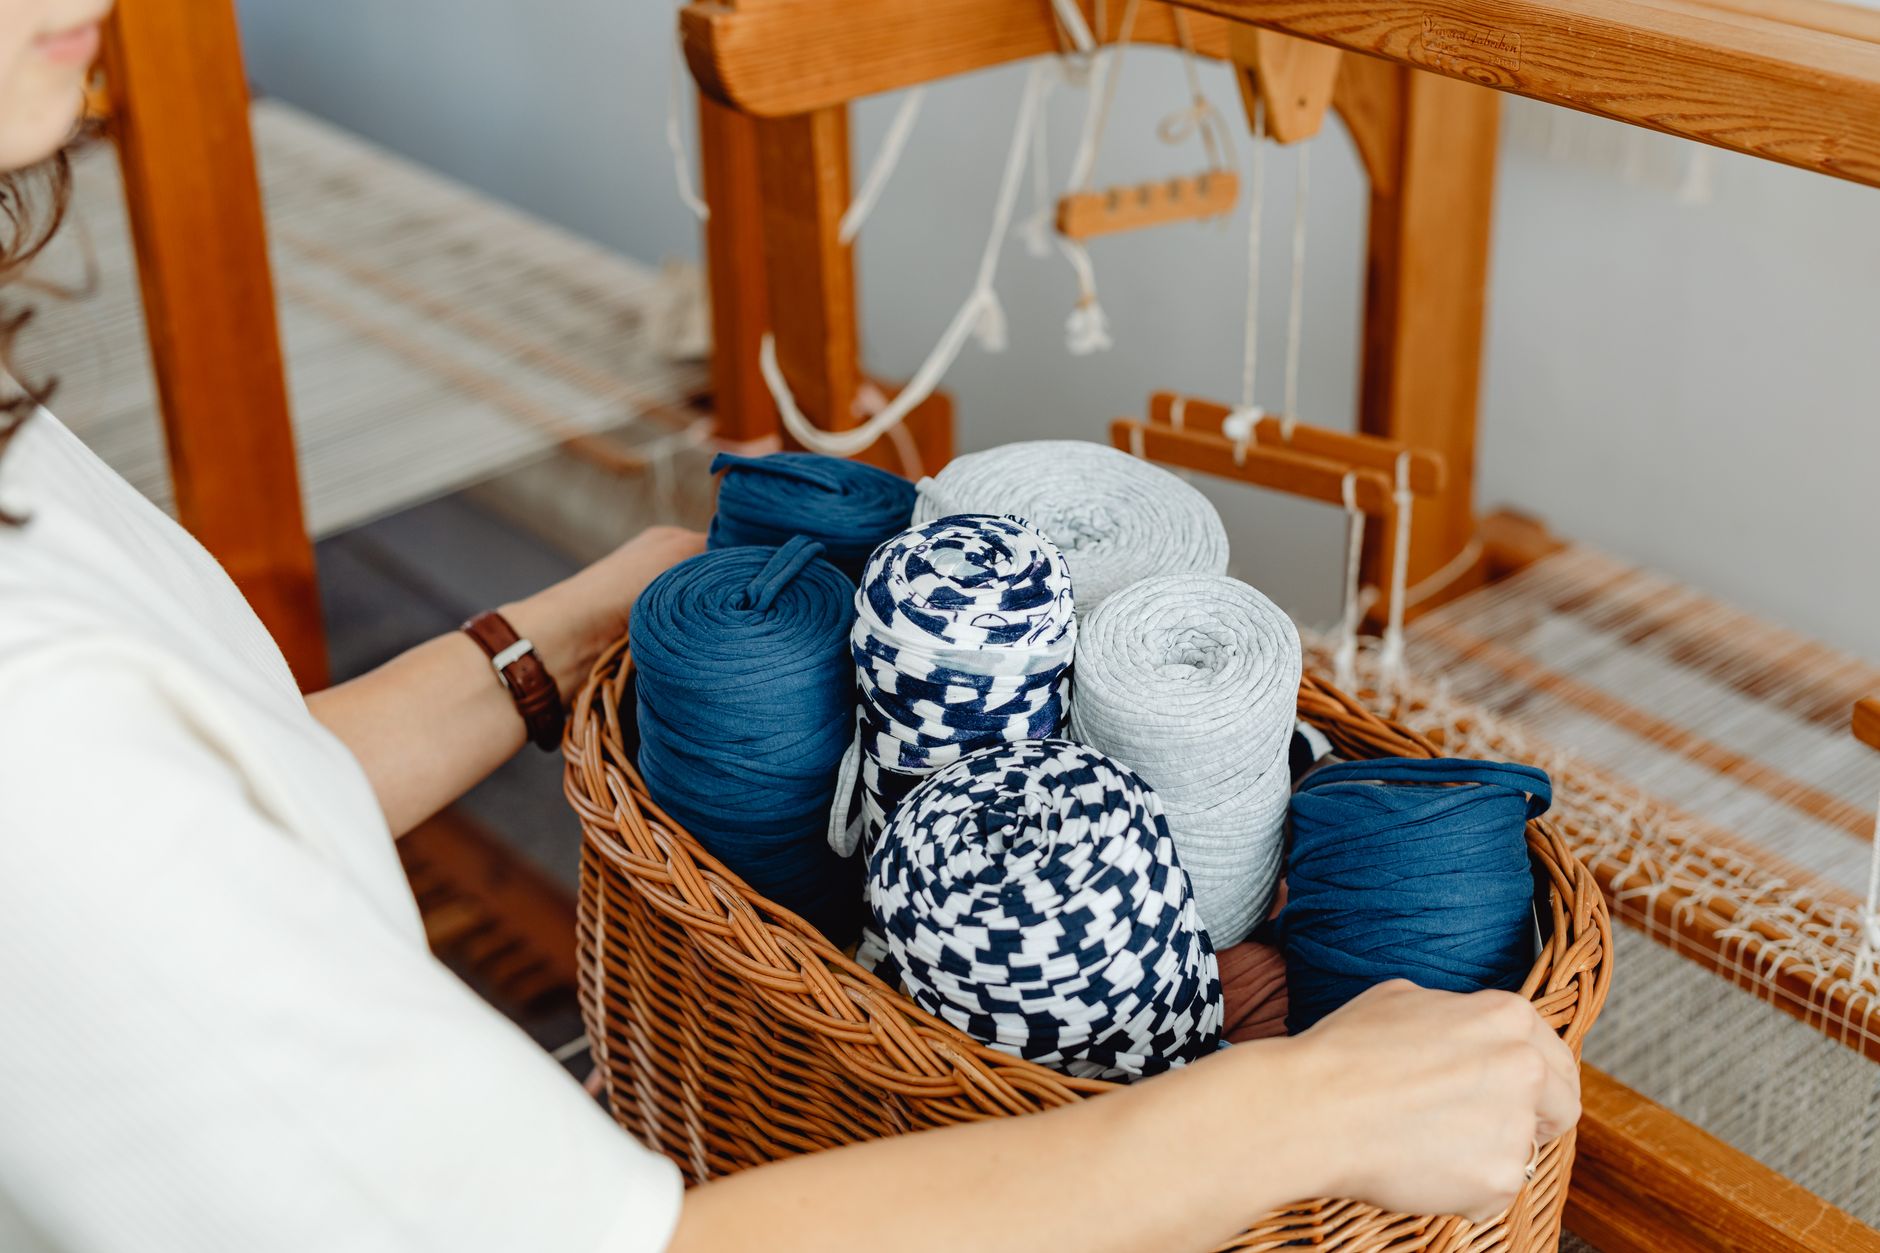
- Weft yarn. This is what you actually weave with. Any yarn you love the look of. Chunky wool, leftover acrylic, embroidery floss doubled up — all fair game. Medium-weight yarn is easiest for beginners.
- A weaving needle. A large tapestry needle or a plastic darning needle. In a pinch, a hairpin wrapped with tape at the tip can push yarn through, though it’s fiddly.
- A fork or a beater. A regular dinner fork is perfect for pressing your rows down. A small comb works too.
- Scissors. Sharp ones. Dull scissors shred yarn and make you grumpy.
- A ruler or a strip of card. Useful for measuring and for creating a clean straight edge at the start.
Step-by-Step
- Set up your warp. Tie your warp yarn to the bottom-left corner of your loom. Bring it straight up to the top-left corner and loop it around. Bring it back down, spacing it about 1cm (half an inch) from the first thread. Keep going until you’ve filled the width of your loom. Aim for an even number of warp threads — it makes the over-under pattern simpler later. Tie off the end at the bottom.
- Check your tension. Pluck a middle warp thread. It should twang like a low guitar string — firm but not tight enough to bend the frame. Loose and floppy? Redo it. Loose warp means saggy weaving, and saggy weaving means tears.
- Create your first row (the header). Thread your needle with weft yarn. Weave it over the first warp thread, under the second, over the third, under the fourth, all the way across. Leave a 10cm tail hanging at the side. Don’t pull tight yet.
- Beat it down. Use your fork to gently push that first row down to the bottom of the loom. This row is just a placeholder — it holds the spacing. You’ll remove it at the end.
- Weave row two in the opposite pattern. If row one went over-under-over-under, row two goes under-over-under-over. That’s the whole secret of plain weave. Every row alternates. After two rows, you’ll see the checkerboard starting to appear.
- Keep your edges tidy. After each pass, lay the yarn across at a shallow angle rather than pulling it straight. This extra slack stops your edges from cinching inward. Trust me on this one — it’s the difference between a rectangle and an hourglass.
- Beat after every row. Push each new row up snug against the previous one with your fork. Consistent beating gives you even fabric. Skipping it gives you gaps you’ll stare at later and wish you’d fixed.
- Change colours if you like. Cut your yarn leaving a 10cm tail, then start the new colour the same way you began. Tuck the tails behind the weaving as you go, or leave them to sew in later. No knots needed — knots create lumps.
- Finish when you’re happy with the length. Leave at least 5cm of unwoven warp at the top. This is your finishing space.
- Remove from the loom. Cut the warp loops at the top and bottom, then tie them off in pairs. Or slide the whole piece off if your loom allows. Trim any long tails and sew them into the back with your needle.
Beginner Tips
The mistakes I see most often in workshops are almost never about skill. They’re about setup and patience. Here’s what to watch for.
- Don’t pull your weft tight. This is the number one beginner error. Tight weft pulls the warp threads inward and your weaving narrows as you go. Leave a gentle arc of yarn across the width before you beat it down.
- Use a smooth warp. Fuzzy or hairy yarn tangles. Save the fluffy stuff for the weft, where it can shine without causing chaos.
- Beat gently and often. A light press after every row beats a heavy press every five rows. Consistency matters more than force.
- Don’t obsess over perfect edges. Your first piece will have slightly wobbly sides. So did mine. So did everyone’s. It’s part of the charm, and you can hide a lot with a fringe or a frame.
- Count your warp threads before you start weaving. An odd number means the over-under pattern won’t line up at the edges and you’ll get a floating thread. Fix it now, not later.
Creative Variation
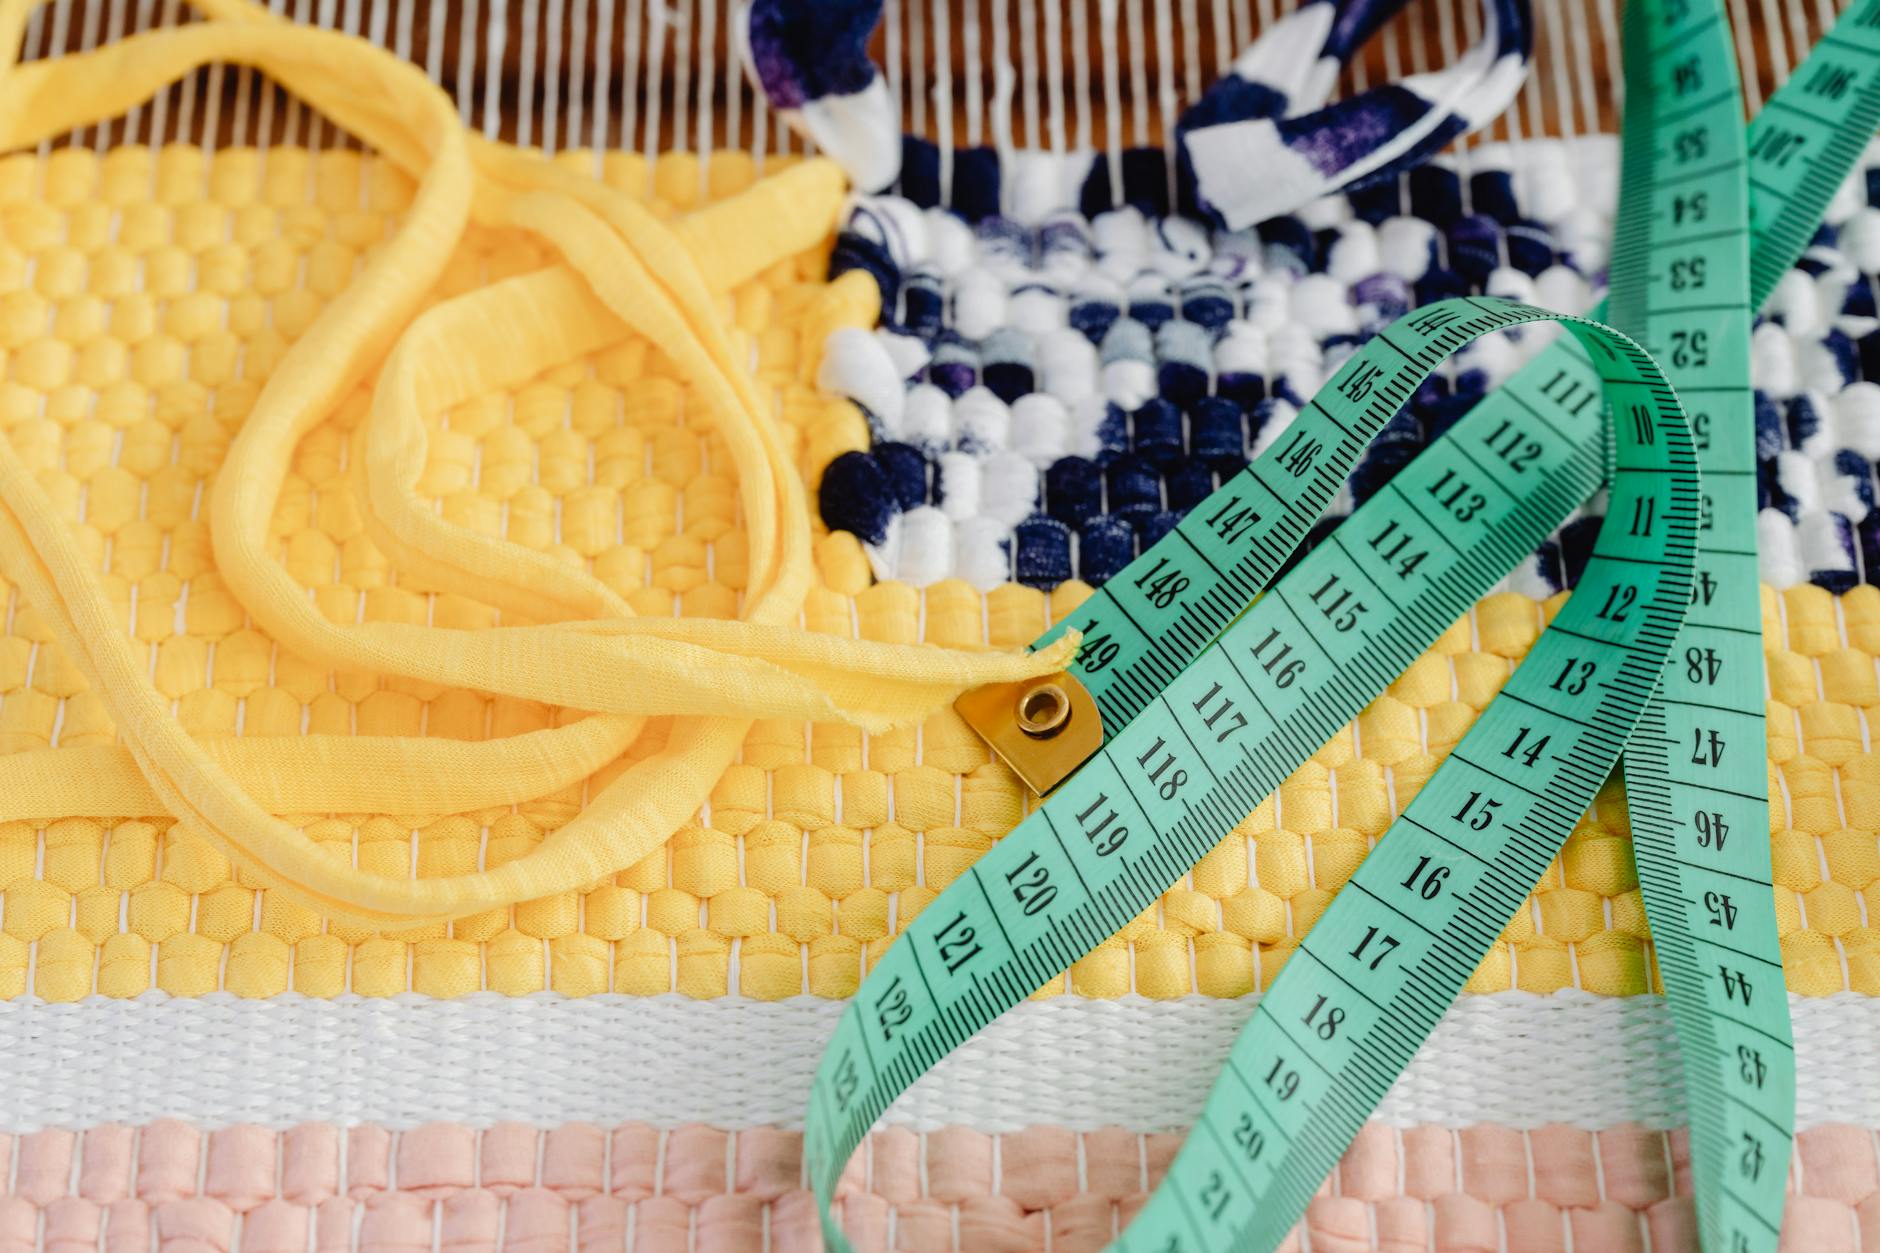
Once you’ve woven a few plain rows, try a weft-faced design by using a much thicker yarn than your warp. The warp disappears entirely and you get bold, chunky colour blocks — perfect for a small wall hanging. Another favourite of mine: weave in a few rows of loop pile by wrapping your weft around a ruler before beating it down. Pull the ruler out and you’ve got a row of soft loops. Kids love this variation, and honestly, so do I.
One counter-intuitive tip: don’t weave a sampler first. Weave something you actually want to keep, even if it’s small. Samplers end up in drawers. A wonky bookmark you use every day teaches you more, because you see it and remember what worked.
Troubleshooting
My edges are curving inward. Your weft is too tight. Unweave a few rows, then re-weave with more slack. Lay the yarn across at an angle before beating.
There are gaps between my rows. You’re not beating consistently. Press each row firmly against the one above it with your fork. If you’ve already finished, you can often close small gaps by gently pulling the warp threads at the edges during finishing.
A warp thread broke. Don’t panic. Tie a new length of warp to the broken end with a small, tight knot, then carry on. The repair will hide inside the fabric.
My weaving looks lumpy. Check your warp tension first. Uneven warp creates uneven fabric. If the warp is fine, you may be using a yarn that’s too thick for your warp spacing — switch to a thinner weft or space your warp threads wider.
I ran out of weft yarn mid-row. Start the new yarn by overlapping the old and new ends by about 10cm and weaving them together for a few passes. Trim the tails later. No knot, no bump.
You don’t need to get this perfect. You need to get it started. The first few rows will feel clumsy, and then your hands will find the rhythm, and suddenly you’ll look up and realise an hour has passed and you’ve made something. That’s the whole magic of weaving — it gives your busy brain a simple, repeatable task and rewards you with fabric at the end. So grab that picture frame, hammer in a few nails, and warp it up. I’d love to see what you make.