Beginner Sewing Projects: Start With a Cushion Cover
The needle on my grandmother’s old Singer still had a length of red thread in it when I pulled it from the cupboard. I was thirty-two, terrified of the machine, and convinced I’d sew straight through my own finger within minutes. Three hours later I’d made a lopsided cushion cover that my cat immediately claimed. That cushion is still on my sofa. Your first sewing project will probably be wonky too — and that’s exactly the point. This tutorial walks you through the most forgiving beginner projects out there. They teach real skills without demanding perfection. You’ll learn your machine, make something useful, and maybe fall a little in love with the process.
Why bother sewing when you can buy a cushion cover for a fiver? Because making things rewires how you see the world. Machine control, seam allowance, finishing — a simple project teaches you all three, and every future project leans on them. It’s cheap to start. Deeply satisfying, too. And you end up with something that actually lives in your home.
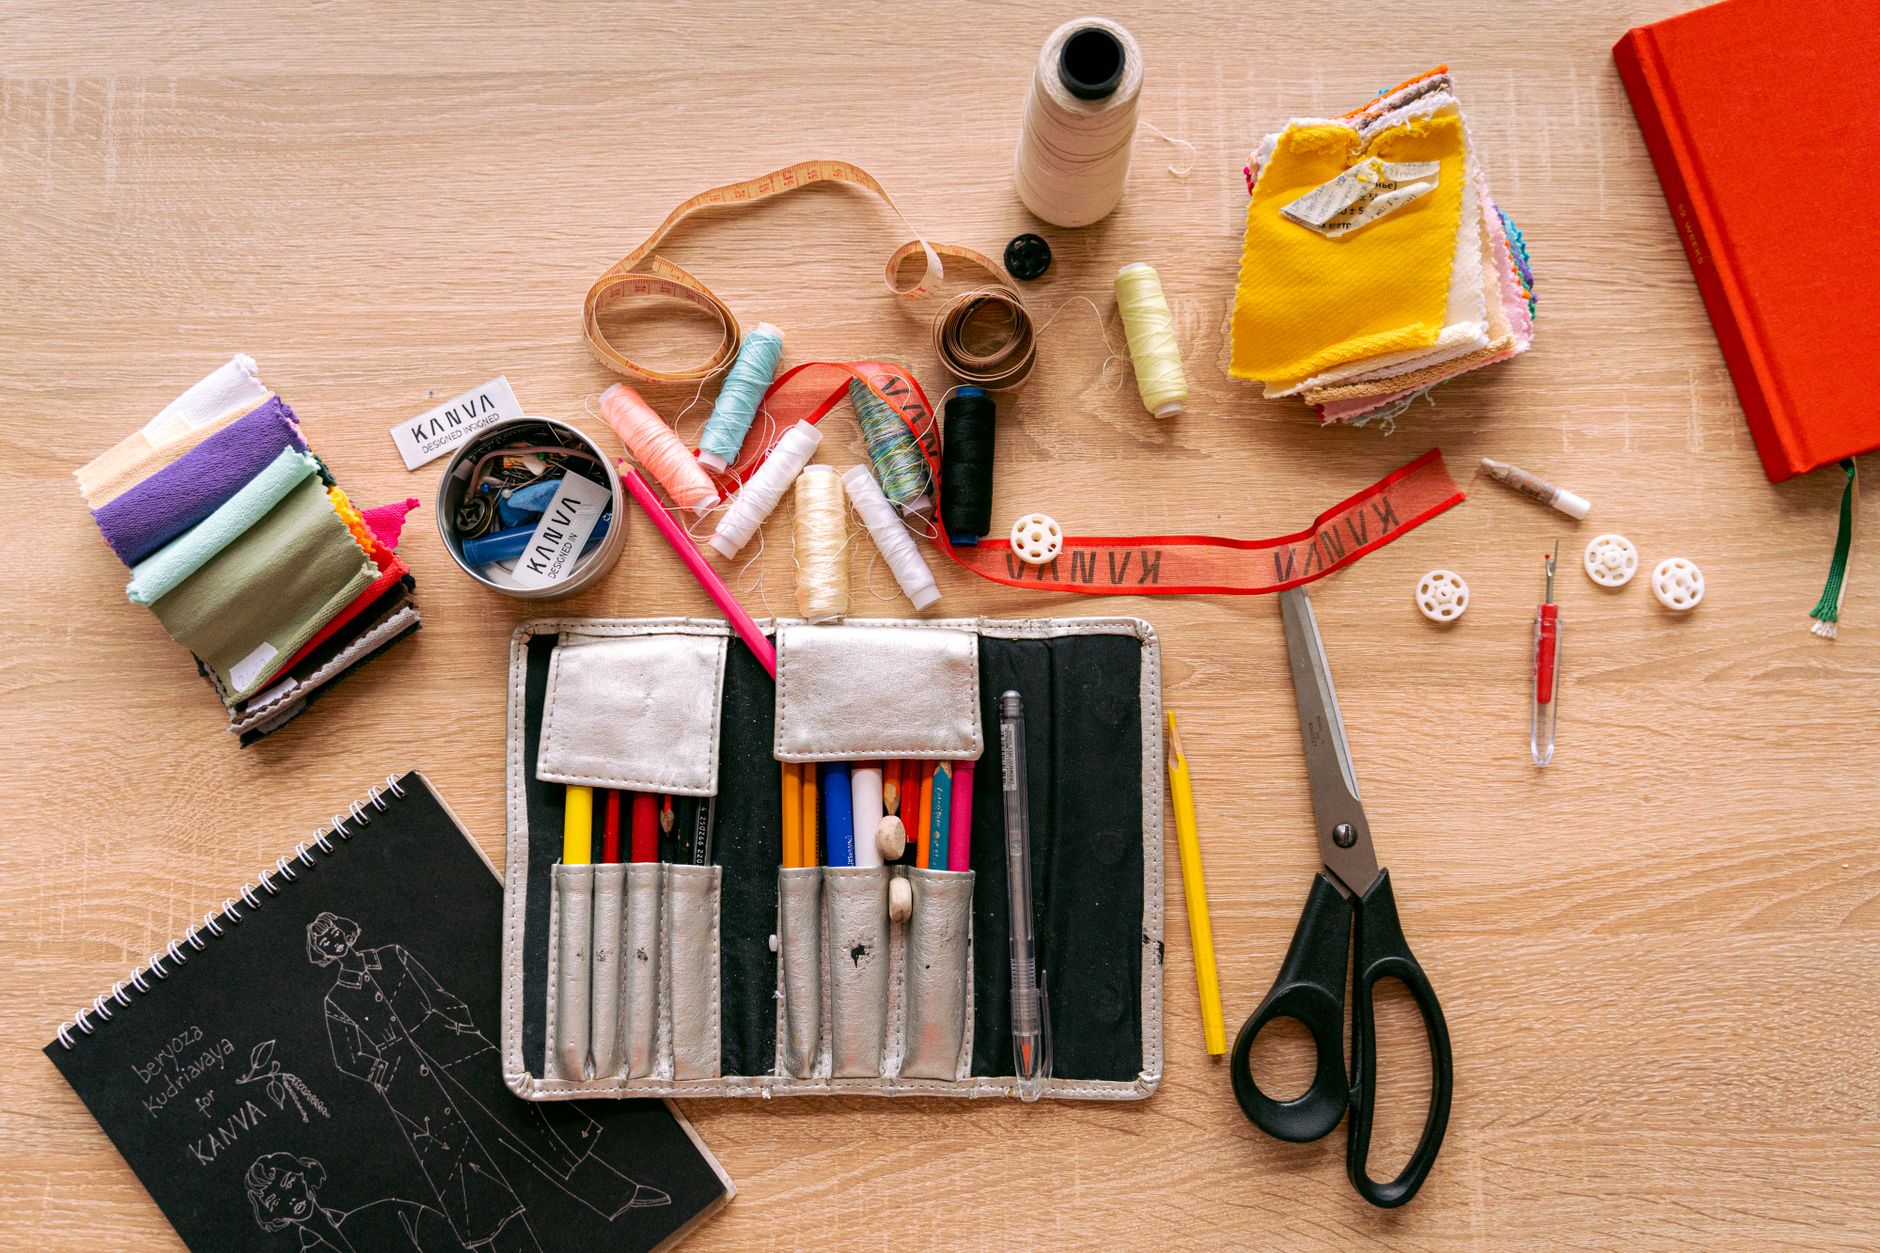
Materials List
- Fabric: Cotton or cotton-blend, about half a metre for a cushion cover. Old bedsheets work brilliantly and cost nothing. Avoid slippery satin or stretchy jersey for your first go.
- Sewing machine: Any basic machine with a straight stitch. Borrow one if you can — check local libraries and community centres, many lend them out now.
- Thread: All-purpose polyester thread in a colour close to your fabric. Cheap thread snaps and tangles; a mid-range spool saves tears.
- Bobbin: One that fits your machine. Wind it with the same thread you’re using on top.
- Fabric scissors: Sharp ones, used only for fabric. Paper blunts blades fast.
- Pins: Glass-headed pins are easier to spot if you drop one. Or use sewing clips if pins make you nervous.
- Seam ripper: Your new best friend. Buy one before you need it.
- Iron and ironing board: Non-negotiable. Pressing seams is half of good sewing.
- Tailor’s chalk or a pencil: For marking. Chalk brushes off; pencil is fine on dark fabrics.
- Ruler or tape measure: A quilting ruler is lovely but a basic tape measure works.
- Optional: walking foot, spare needles, a cushion insert. A 45cm insert fits a 45cm cover nicely.
Step-by-Step
- Set up your machine. Plug in, wind a bobbin, thread the top. Follow your manual — every machine threads slightly differently. Pull the bobbin thread up through the needle plate and check both threads trail behind the presser foot.
- Test on scraps. Sew a few lines on spare fabric. Adjust tension if loops appear underneath (tension too loose) or the thread snaps (too tight). This five-minute check saves an hour of frustration.
- Measure and cut. For a 45cm cushion, cut one piece 48cm x 48cm (front) and two pieces 48cm x 30cm (back). The extra centimetres are seam allowance. Cut slowly and steadily — wonky edges make wonky seams.
- Finish the back panel edges. On each back piece, press one long edge under by 1cm, then fold again and press. Sew along the fold. This is a double hem and it stops fraying.
- Layer the pieces. Place the front piece right side up. Lay one back piece on top, right side down, aligned with one edge. Lay the second back piece on the opposite edge, overlapping the first in the middle. Pin around all four sides.
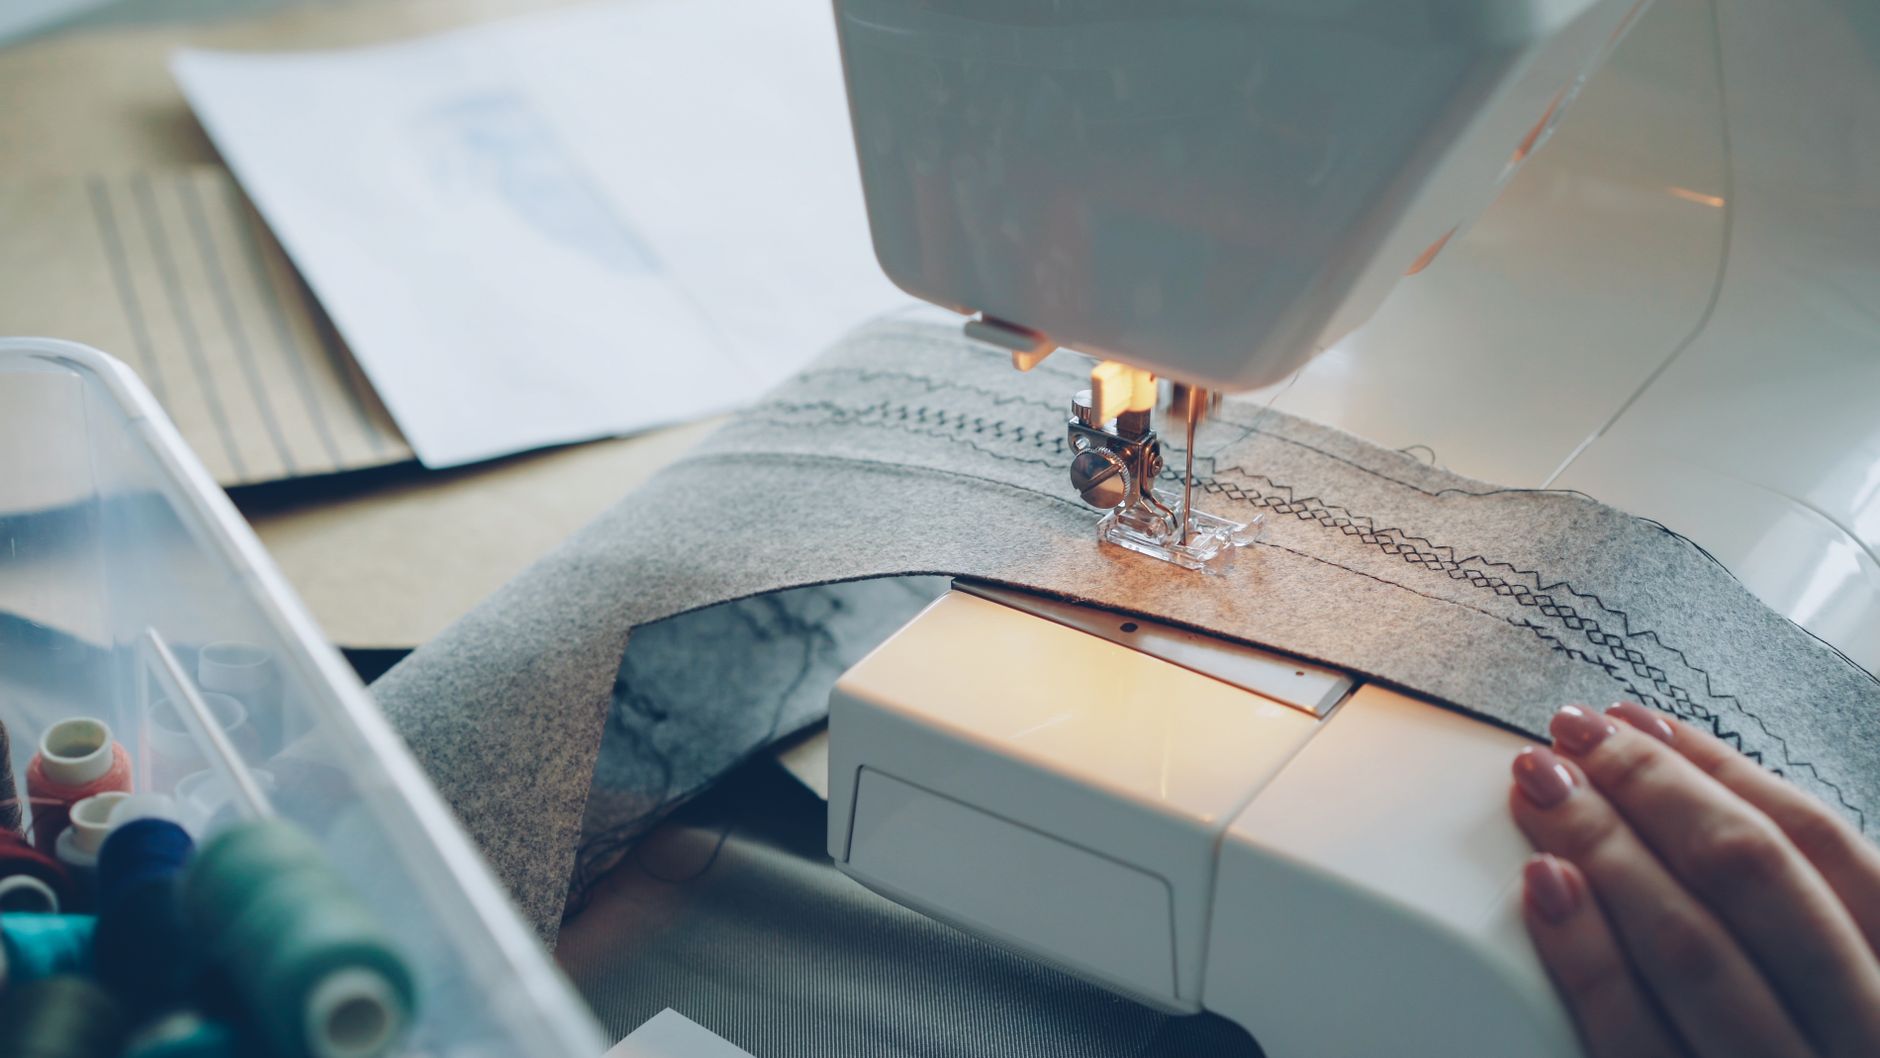
- Sew the perimeter. Use a straight stitch with a 1.5cm seam allowance. Go slowly around corners — needle down, lift the presser foot, pivot, continue. Backstitch at the start and finish.
- Clip the corners. Snip diagonally across each corner, close to but not through the stitching. This lets the corners turn out sharply.
- Turn and press. Turn the cover right side out through the envelope opening. Poke the corners out gently with a chopstick. Press the whole cover flat.
- Insert the cushion. Squeeze the insert through the envelope gap and give it a good shake to settle.
- Admire your work. Seriously — hold it up. You made that.
Beginner Tips
Most first-timers make the same handful of mistakes. Knowing them in advance is half the battle.
- Don’t skip the pressing. Pressing after every seam feels fussy. It isn’t. It’s the difference between homemade and handmade.
- Sew slowly. Speed comes later. A slow machine gives you time to steer the fabric and spot trouble before it becomes a seam to unpick.
- Watch the seam guide, not the needle. Your eye should follow the line on the needle plate, not the needle itself. It feels odd at first and then it clicks.
- Don’t pull the fabric. Let the feed dogs do the work. Tugging stretches the fabric and creates wavy seams.
- Change your needle. A blunt needle causes skipped stitches and puckering. Start fresh and replace it every few projects.
- Don’t be afraid of the seam ripper. Every sewist unpicks. It’s not failure, it’s part of the job.
Creative Variation
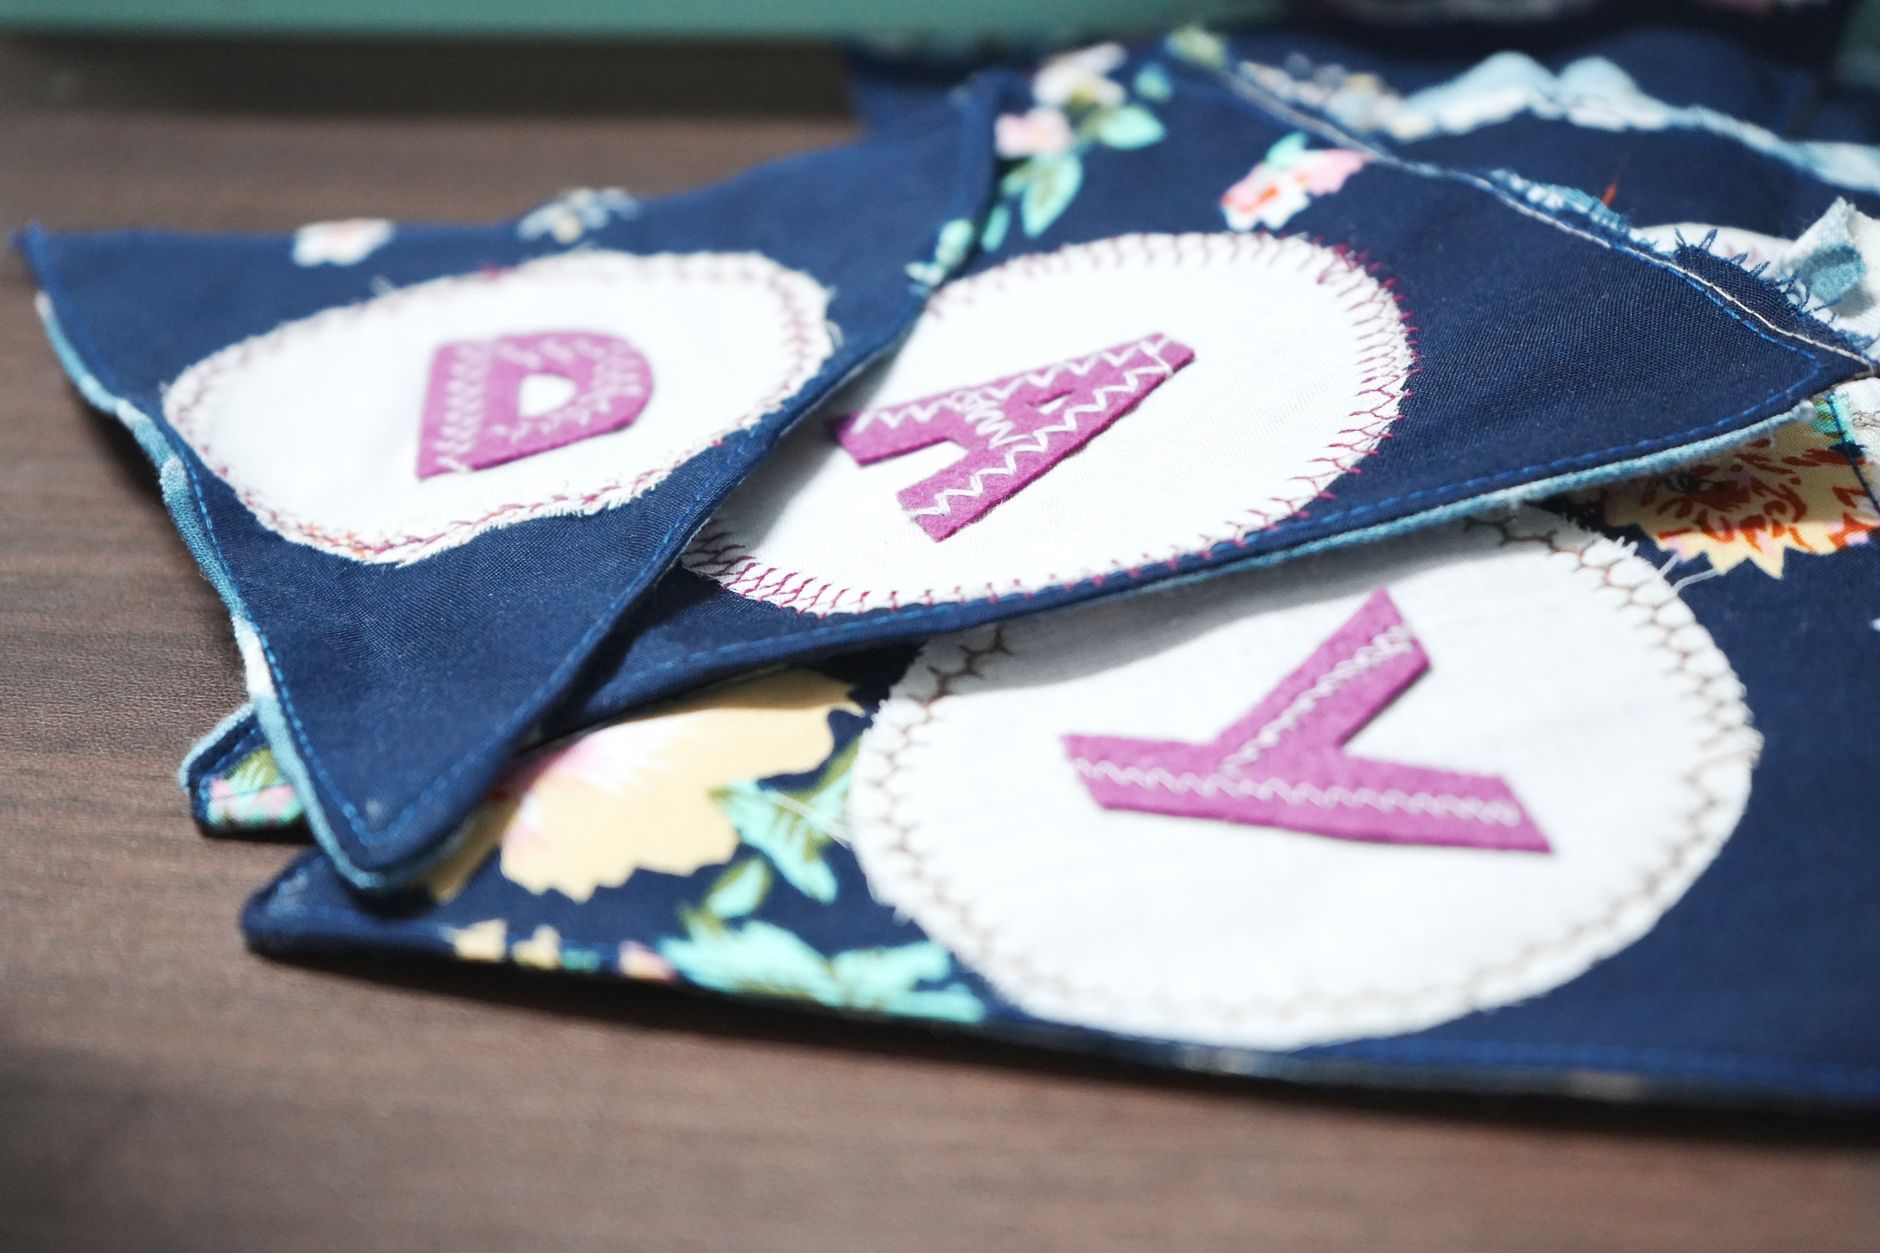
Once you’ve made one plain cushion, try a patchwork front. Cut your front panel into nine equal squares, arrange them in a grid you love, then sew them into rows and the rows into a panel. It teaches precise piecing and gives you a reason to use up fabric scraps. Press every seam flat as you go — this is where the iron earns its keep. You can also add a simple appliqué shape, a strip of contrasting fabric down the centre, or a row of buttons as a decorative detail. The envelope back stays exactly the same, so the construction stays beginner-friendly even when the front gets playful.
Troubleshooting
When something goes wrong — and it will — here’s how to fix the usual suspects.
- Thread nests underneath: Your top tension is too loose, or the machine isn’t threaded properly. Rethread from scratch, top and bobbin.
- Skipped stitches: Usually a blunt or wrong-sized needle. Swap it for a fresh one.
- Wavy seams: You’re pulling the fabric. Relax your hands and let the machine feed it through.
- Puckered fabric: Tension too tight, or you’re sewing through too many layers for your needle. Try a heavier needle.
- Broken thread: Often the wrong thread weight or a burr on the needle. Change both.
- Seams that don’t line up: Pin more, and check your seam allowance is consistent. Mark it with tape on the machine bed if it helps.
- Machine jammed: Unplug it, remove the needle plate, and clear the fluff and tangled thread. A small brush helps.
Any of these can derail a first project. None of them are disasters. Take a breath, unpick, and try again. The machine isn’t judging you.
Here’s the counter-intuitive bit: your first project should not be your best one. Aim for finished, not perfect. A slightly lumpy cushion cover that exists beats a flawless plan that never leaves the drawer. Sewing is a physical skill, and physical skills need repetition, not perfection. So make the cushion. Then make another one. Give it to a friend, put it on your sofa, let the cat sit on it. You’ve joined a long line of people who make things with their hands, and that’s a genuinely lovely place to be. Got your fabric picked out yet? Go on — the machine’s waiting.